The bathroom, often considered a sanctuary within our homes, is where we begin and end our days. It’s a space of relaxation, rejuvenation, and functionality. Over time, however, even the most well-loved bathrooms can start to show their age, becoming outdated or less functional. If you’ve been contemplating giving this essential space a makeover, you’re in the right place. In this guide on “How to Renovate a Bathroom,” we’ll walk you through the entire process, from inspiration to the finishing touches.
Whether you aim for a complete transformation or just a few updates, this comprehensive guide will provide the insights and tips you need to breathe new life into your bathroom.
The Importance of Setting a Budget
Before diving into the exciting world of bathroom renovations, it’s crucial to establish a clear budget. Setting a budget helps you manage your finances effectively and ensures the renovation runs smoothly.
Without a budget, it’s easy to get carried away with the myriad design options and fixtures available, leading to unexpected expenses and potential financial strain.
Factors to Consider When Budgeting
Labor Costs:
Depending on the scale of your renovation, labor can be one of the most significant expenses. Whether hiring a contractor or a team of specialists, getting multiple quotes and understanding the breakdown of labor costs is essential.
Materials:
The choice of materials can significantly impact your budget. Prices vary widely from tiles to countertops and fixtures, based on quality, brand, and design. Researching and comparing prices will help you make informed decisions that align with your budget.
Unexpected Expenses:
Renovations often come with surprises. Whether it’s a hidden plumbing issue or the need for additional materials, it’s wise to allocate a portion of your budget (typically 10-20%) for unforeseen costs.
Permit Fees:
You might need permits depending on your location and the extent of your renovation. These come with fees, so factoring them into your budget is essential.
Tips for Saving Money on Your Bathroom Renovation
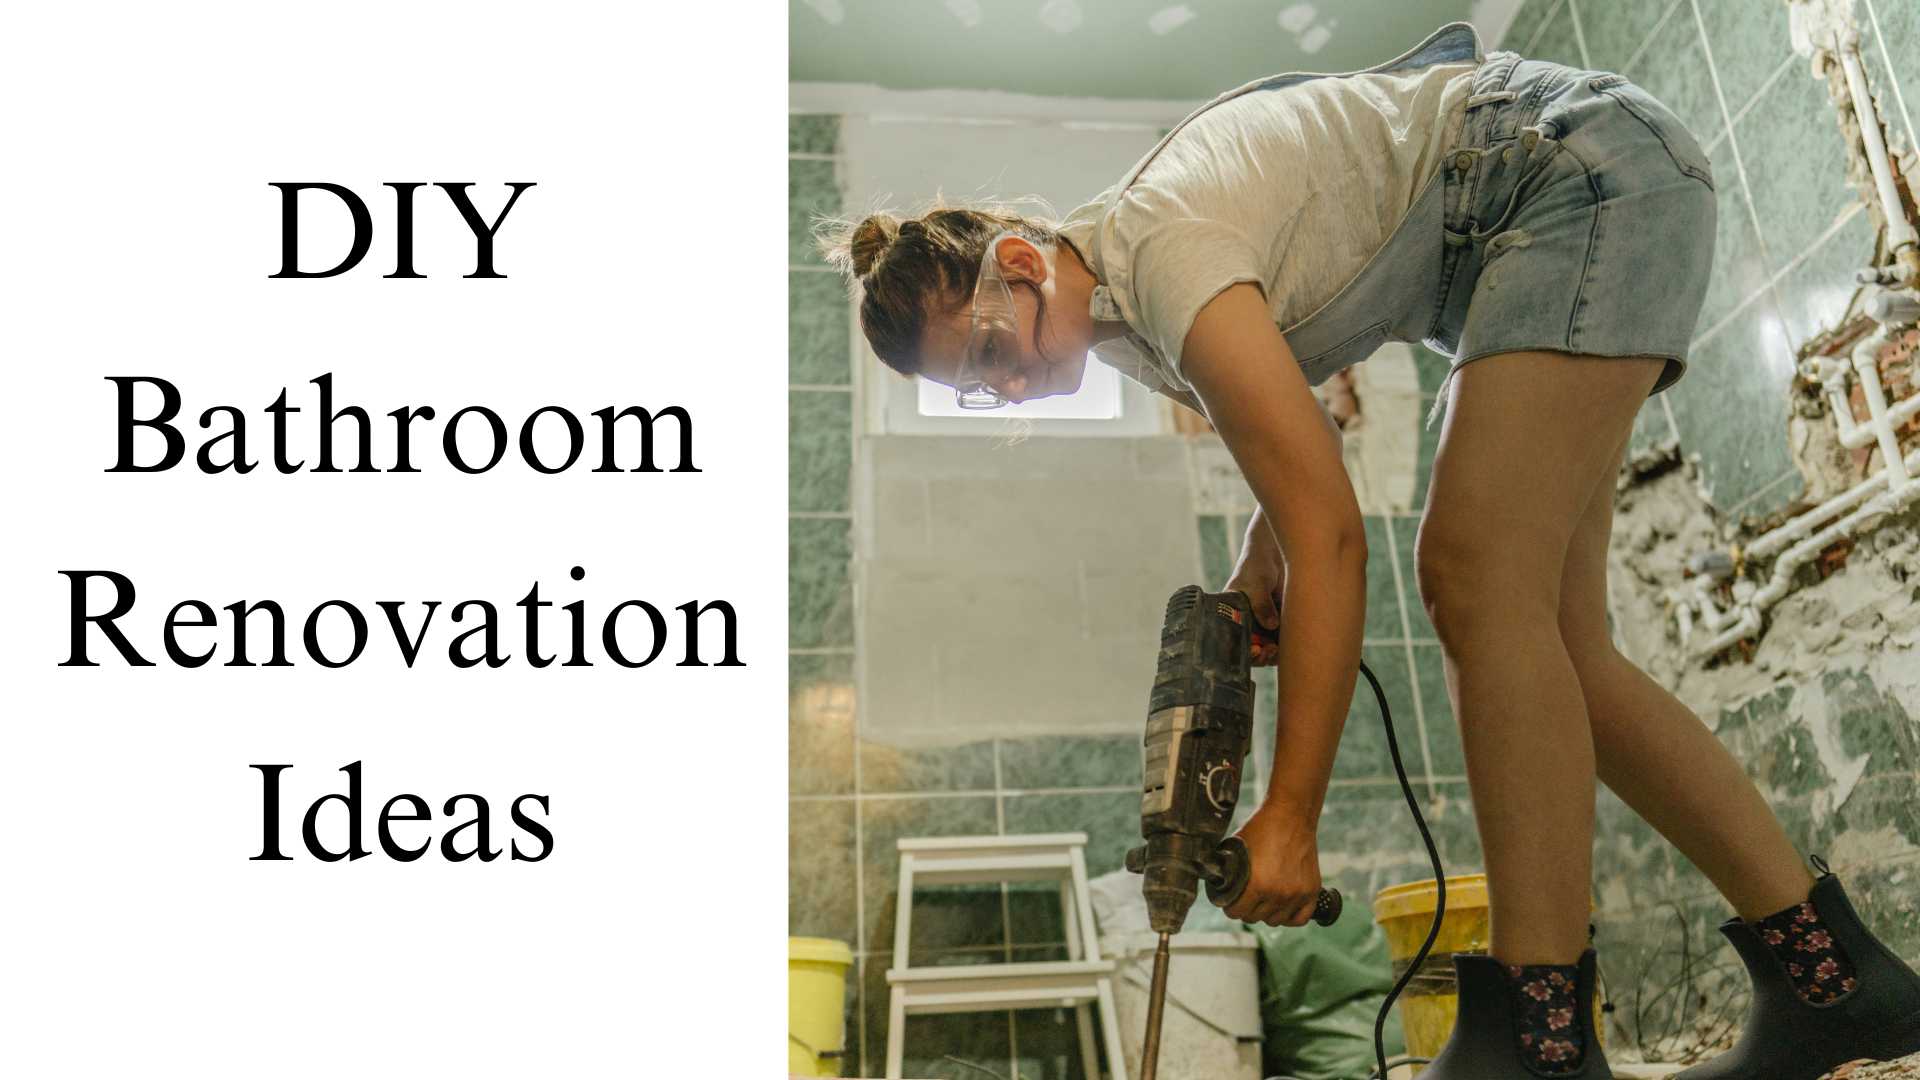
DIY Where Possible:
While some tasks require professional expertise, there are aspects of the renovation, like painting or installing simple fixtures, that you can handle yourself.
Reuse and Repurpose:
Instead of replacing everything, consider which items can be refurbished or repurposed. For instance, refinishing a bathtub can be more cost-effective than buying a new one.
Shop Sales and Discounts:
Look for sales at home improvement stores, or consider purchasing slightly imperfect items at a discount.

Prioritize:
Determine which aspects of the renovation are most important to you and allocate your budget accordingly. That high-end faucet can wait, but fixing a plumbing issue cannot.
Determining your budget and planning accordingly can ensure your bathroom renovation is successful and financially manageable.
Remember, it’s not about how much you spend but how wisely you allocate your resources to create a space that meets your needs and aesthetic desires.
Finding Inspiration for Your Bathroom Renovation
In the age of digital media, finding design inspiration has never been easier. Before purchasing materials or hiring contractors, you must envision what you want your renovated bathroom to look like.
This vision will guide your decisions and ensure that the result is a cohesive and harmonious space.
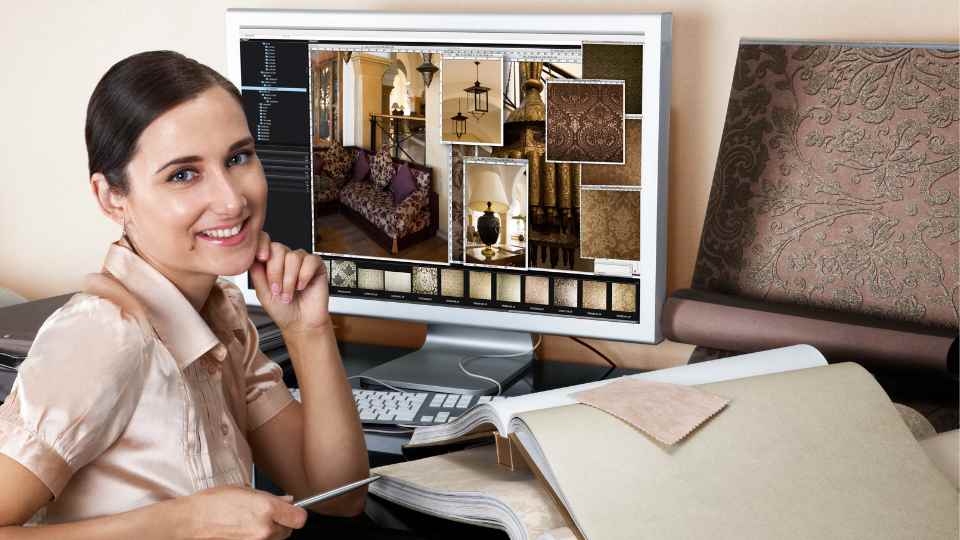
Magazines:
Home design magazines are a treasure trove of inspiration. They showcase the latest trends, innovative designs, and expert advice. Flipping through these pages can spark ideas and help you visualize your dream bathroom.
Pinterest:
This visual discovery platform is a haven for home renovators. By creating a bathroom renovation board, you can pin images that resonate with your style, creating a mood board that reflects your design aspirations.
Design Websites and Blogs:
Websites like Houzz, Apartment Therapy, and DecorPad offer many bathroom design photos, articles, and expert advice. Exploring these sites can help refine your design preferences and discover new trends.
Current Bathroom Design Trends
Staying updated with the latest design trends can give your bathroom a modern and fresh look. Some current trends include
Neutral Color Palettes:
Soft grays, whites, and beiges create a serene and timeless bathroom ambiance.
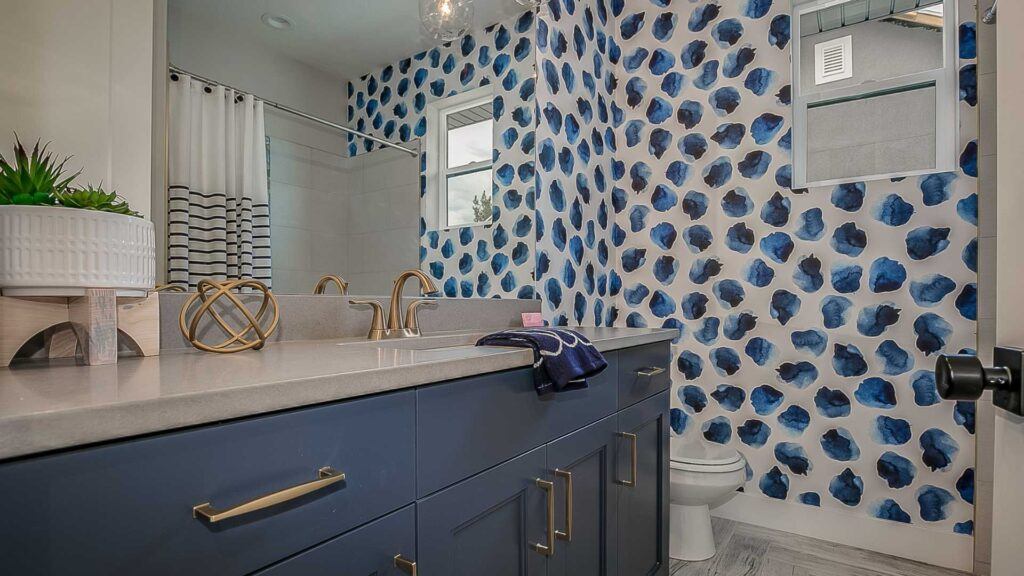
Bold Accent Walls:
Whether it’s through vibrant tiles or wallpaper, accent walls can add a splash of personality to the bathroom.
Floating Vanities:
These give the illusion of more space and offer a sleek, contemporary look.
Eco-friendly Features:
Water-saving faucets, low-flow toilets, and sustainable materials are both environmentally friendly and stylish.
Balancing Functionality with Aesthetics
While it’s essential to have a bathroom that looks good, it’s equally vital for it to be functional. Consider:
Storage Solutions:
Think about your storage needs. Do you need additional cabinets, shelves, or storage niches?
Space Utilization:
Ensure there’s enough space to move around comfortably. Consider the placement of fixtures to maximize space.
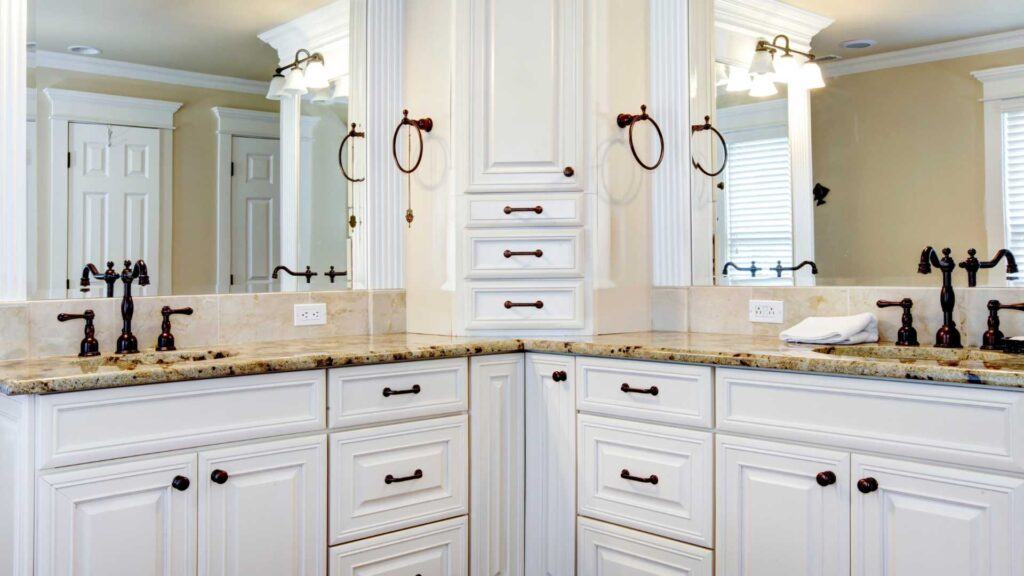
Lighting:
A well-lit bathroom is crucial. Consider where natural light comes in and where you might need additional lighting fixtures.
You can create a beautiful and functional bathroom by gathering inspiration and staying updated with design trends.
Remember, the key is to design a space that resonates with your style while meeting your practical needs.
The Importance of Accurate Measurements
Before embarking on any renovation project, accurate measurements are paramount. They form the foundation upon which all other decisions are based.
Whether ordering tiles, choosing a bathtub, or deciding on storage solutions, having precise measurements ensures that everything fits seamlessly and functions optimally in your bathroom space.
Steps to Take Accurate Measurements
Use the Right Tools:
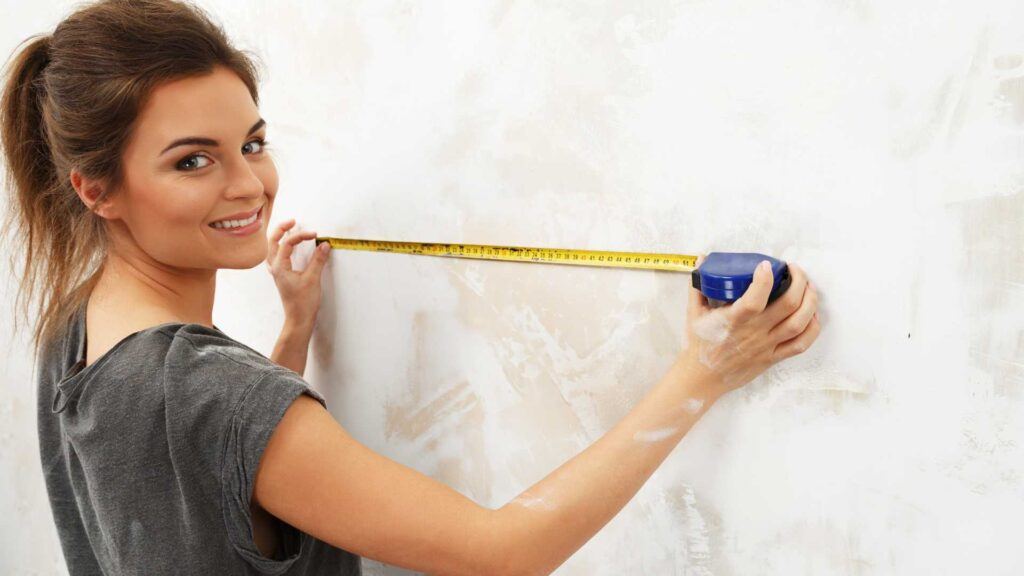
A tape measure is essential. For more complex spaces, a laser distance measurer can be handy. Always have a notepad or a floor plan sketch to jot down measurements.
Measure Everything:
Start with the overall dimensions of the bathroom – length, width, and height. Then, measure specific features like windows, doors, and any built-in fixtures.
Document Fixture Sizes:
If you plan to keep certain fixtures, measure their dimensions. This includes sinks, bathtubs, toilets, and any built-in cabinets.
Consider Utility Connections:
Measure the location of electrical outlets, light switches, and plumbing connections. This will be crucial when planning the placement of new fixtures.
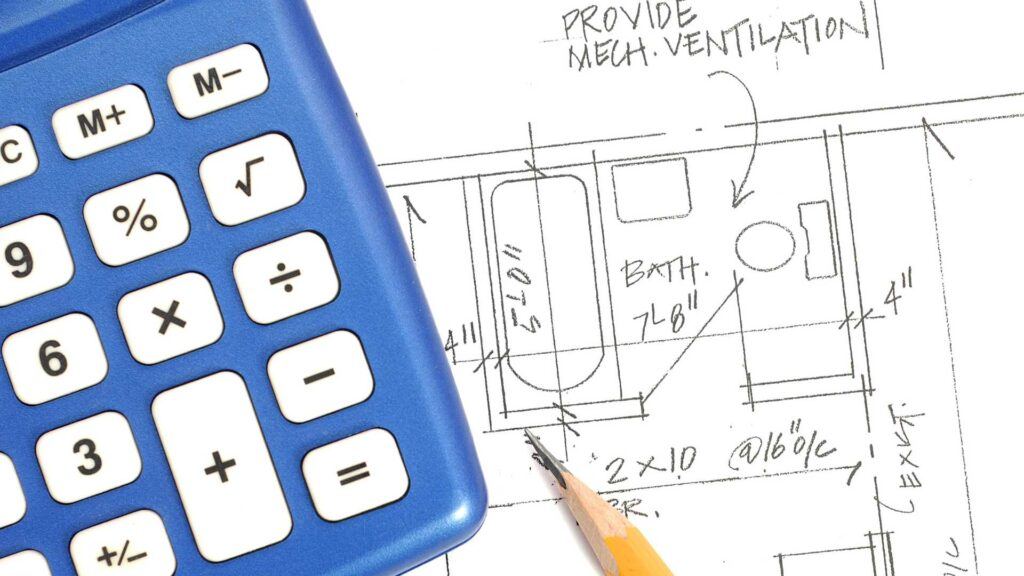
Drafting a Floor Plan
Once you have all your measurements:
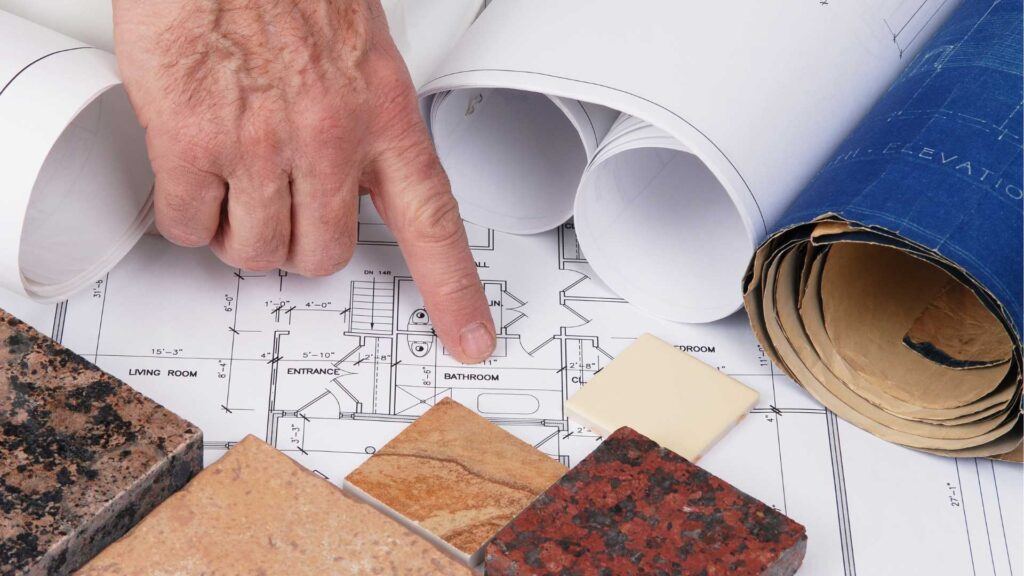
Begin with a rough sketch of your bathroom’s layout. Graph paper can be helpful to maintain scale.
Mark Key Features:
Indicate where doors, windows, and existing fixtures are located.
Plan for New Additions:
Using measurements, sketch where you’d like new fixtures or features. Consider the flow of the space and ensure there’s enough room for doors to open and for people to move around comfortably.
Use Digital Tools:
Several online tools and apps, like RoomSketcher or Floorplanner, allow you to create digital floor plans. These can be especially useful if you share plans with contractors or want a more visual representation of your space.
Considerations for Fixture and Utility Placement
Functionality:
Ensure that the placement of fixtures makes sense functionally. For instance, you wouldn’t want the toilet directly next to the door or a light switch far from the entrance.
Safety:
Electrical outlets should be kept from water sources. Consider GFCI (Ground Fault Circuit Interrupter) outlets for added safety.
Aesthetics:
Consider how the bathroom will look once everything is in place. For example, if you have a beautiful freestanding tub, you might want it to be a focal point, so place it accordingly.
By meticulously measuring and planning your bathroom, you set the stage for a smoother renovation process. It minimizes the risk of costly mistakes and ensures the finished space is functional and visually appealing.
Choose Your Materials
Materials are pivotal in determining your bathroom’s look, feel, and durability. From the tiles underfoot to the countertop you touch daily, the materials you choose can transform the space’s ambiance while serving functional purposes. It’s essential to balance aesthetics, functionality, and budget when selecting.
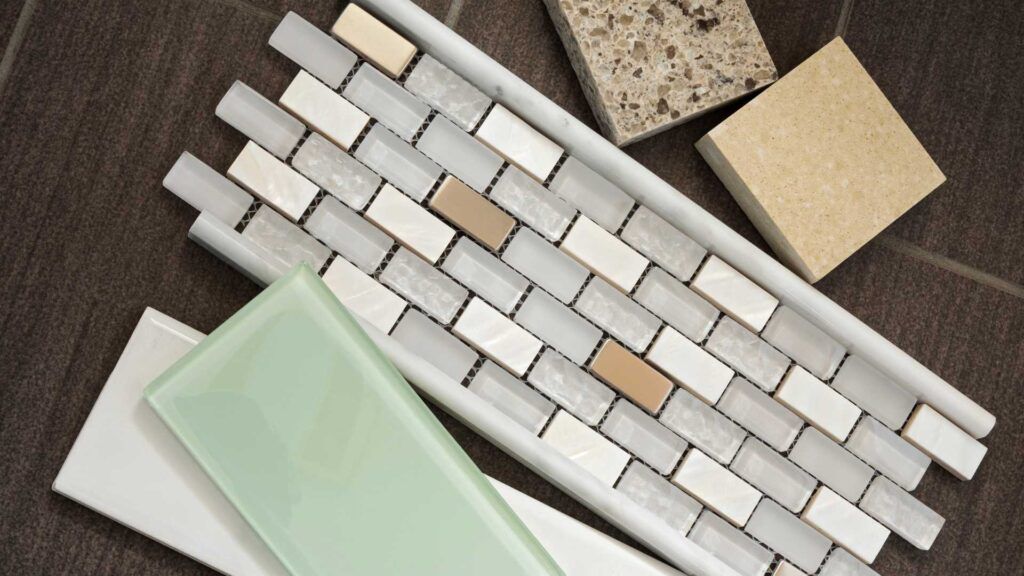
Tiles: The Foundation of Your Bathroom’s Aesthetics
Types:
Ceramic and Porcelain:
Durable, water-resistant, and versatile in design.
Stone:
Natural stones like marble, granite, and slate offer a luxurious look but may require more maintenance.
Glass:
It adds a modern touch and can make spaces appear more prominent.
Vinyl:
Cost-effective and comfortable underfoot.
Placement: Consider where you’ll place different tiles. For instance, non-slip floor tiles are essential for safety, while decorative tiles might be reserved for backsplashes or accent walls.
Countertops: Merging Functionality with Style
- Granite: A popular choice for its durability and unique natural patterns.
- Marble: Offers a timeless, elegant look but can be porous and prone to staining.
- Quartz: A man-made material that combines the beauty of stone with increased durability and less maintenance.
- Laminate: A budget-friendly option available in various designs.
Fixtures: The Functional Jewels of Your Bathroom
- Faucets: Available in various finishes like chrome, brushed nickel, or matte black. Consider water-saving options for sustainability.
- Showers and Bathtubs: Choose from walk-in showers to clawfoot tubs based on your bathroom size and preference.
- Toilets: Consider water-efficient models. Wall-mounted options can save space in smaller bathrooms.
Lighting: Setting the Mood and Ensuring Functionality
- Ambient Lighting: The primary light source, often from ceiling fixtures.
- Task Lighting: Focused lighting, essential around mirrors for activities like shaving or makeup application.
- Accent Lighting: Used to highlight specific areas or features, like artwork or architectural details.
Storage Solutions: Marrying Design with Organization
- Cabinets: Choose materials that resist moisture. Consider designs that complement your bathroom’s aesthetic.
- Shelves: Floating shelves or glass shelves can offer storage without making the space feel crowded.
- Storage Niches: Built-in wall niches can be decorative and functional, especially in shower areas.
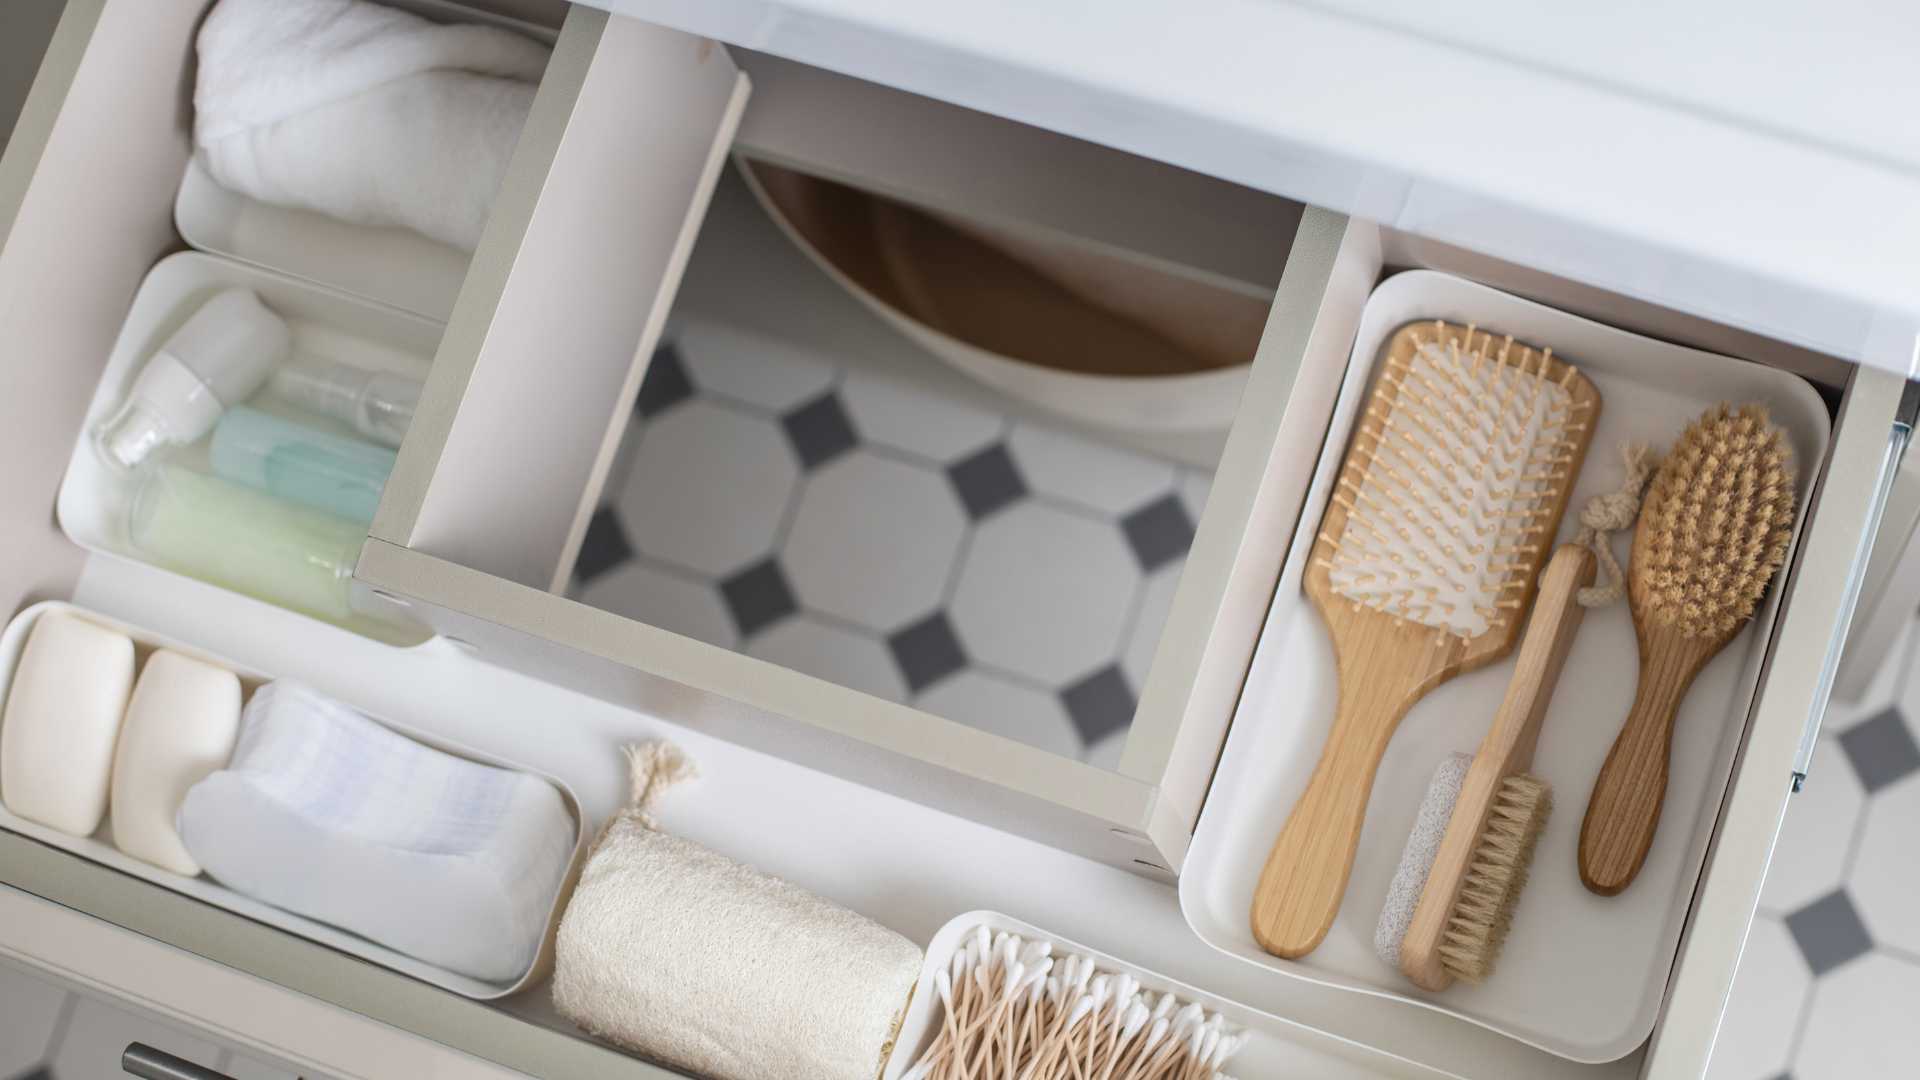
When choosing materials for your bathroom renovation, it’s essential to touch and see them in person when possible. This allows you to gauge their quality, texture, and how they look under different lighting conditions.
Remember, while trends come and go, choosing materials that resonate with your style and meet your functional needs will ensure your bathroom remains cherished for years.
The Backbone of Your Bathroom: Plumbing and Electrical Systems
While the aesthetic elements of a bathroom renovation often steal the spotlight, the plumbing and electrical systems are its unsung heroes. These systems ensure that your bathroom functions seamlessly and safely. Overlooking or mishandling these aspects can lead to costly repairs and potential hazards.
Professional vs. DIY: Making the Right Choice
- The complexity of the Task: While minor tasks like replacing a faucet or installing a new light fixture might be within the realm of DIY for those with some experience, more complex jobs like rerouting plumbing or installing new electrical lines should be left to professionals.
- Safety Concerns: Both plumbing and electrical work come with a set of risks. Incorrect electrical work can lead to fires, while plumbing mistakes can result in leaks and water damage.
- Regulations and Standards: Professionals are well-versed in local building codes and standards, ensuring the work is compliant and safe.
Understanding Permits and Regulations
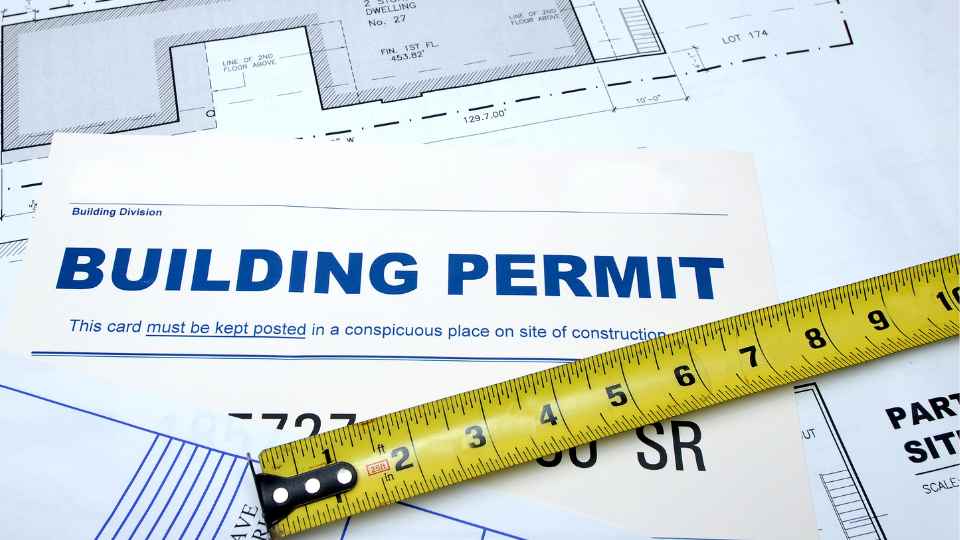
- When Do You Need a Permit? Most significant plumbing and electrical changes will require a permit. This might include moving or adding plumbing fixtures, changing the bathroom’s layout, or adding new electrical circuits.
- Benefits of Permits: While obtaining a permit might seem like an additional hassle, it ensures that the work is inspected and meets local building codes, guaranteeing safety and saving you from costly future repairs.
- How to Obtain a Permit: Typically, permits are obtained from your local city or county building department. If you’re working with a contractor, they often handle this process.
Safety Precautions to Keep in Mind
- Water and Electricity Don’t Mix: Ensure that electrical outlets are safe from water sources. Consider installing Ground Fault Circuit Interrupters (GFCIs) for outlets near water to prevent electrocution.
- Proper Ventilation: If you’re soldering pipes or using chemicals, ensure the room is well-ventilated to avoid inhaling toxic fumes.
- Turn Off Utilities: Before starting any plumbing or electrical work, always turn off the water or electricity in the area you’re working on.
- Test Before Use: Once you’ve completed any plumbing or electrical work, test everything thoroughly before regular use. Check for leaks, ensure switches work correctly, and test all outlets.
Tackling the plumbing and electrical aspects of a bathroom renovation requires careful consideration, planning, and, often, the expertise of professionals. By giving these elements the attention they deserve, you ensure that your renovated bathroom is beautiful but also safe and functional for years to come.
Laying the Groundwork: The Demolition Phase
Before the exciting process of building and beautifying can begin, there’s the essential step of demolition and preparation. This phase involves removing old fixtures, tiles, and sometimes even walls to create a blank canvas for your new bathroom design. While it might seem straightforward, a systematic and careful approach is crucial to ensure safety and efficiency.
Tools Required for Demolition
- Safety Gear: Before starting, equip yourself with safety goggles, gloves, a dust mask, and protective footwear. This will protect you from debris, dust, and potential hazards.
- Pry Bar and Hammer: These are essential for removing tiles, fixtures, and other attached elements.
- Utility Knife: Useful for cutting away old caulking or adhesive.
- Sledgehammer: For more substantial demolition tasks, like breaking down walls or removing bathtubs.
- Bucket and Broom: For collecting debris and keeping the area clean.
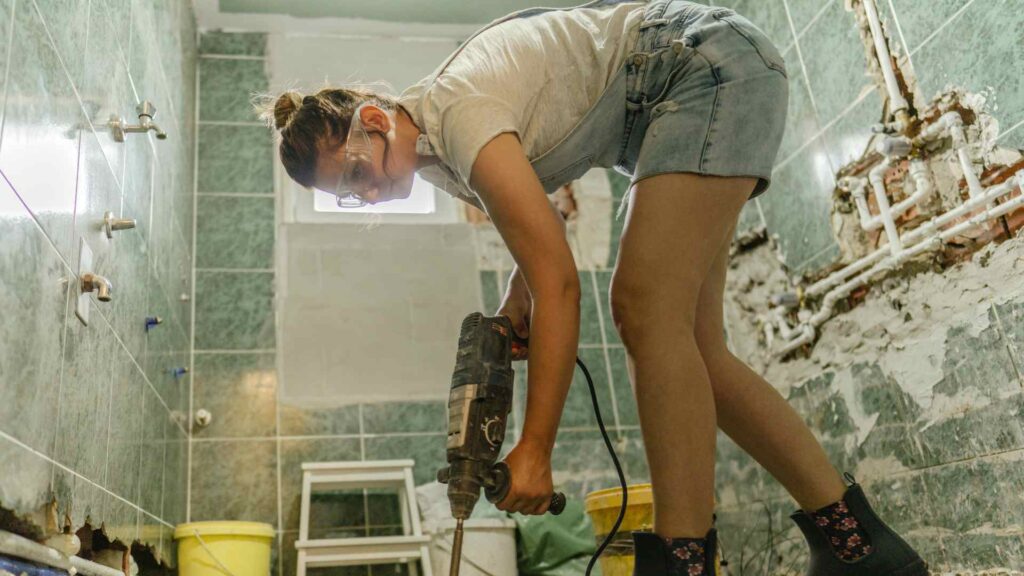
Steps for a Safe and Efficient Demolition
- Plan Ahead: Know exactly what needs to be removed and what will stay. This avoids accidental damage to fixtures or features you intend to keep.
- Turn Off Utilities: Ensure that water and electricity are turned off in the bathroom to prevent accidents.
- Start from the Top: Begin with light fixtures and work your way down to avoid debris falling on something you’re working on.
- Remove Fixtures: Carefully remove sinks, faucets, toilets, and other fixtures. Some of these might be heavy, so consider seeking assistance.
- Tackle the Tiles: Break a single tile to create a starting point, then use the pry bar and hammer to remove the rest.
- Check the Walls: If you plan to replace the drywall or need to access plumbing, carefully cut or break away the necessary sections.
- Clean as You Go: Regularly sweep up debris and dispose of it correctly. This keeps the workspace safe and makes the process more manageable.
Prepping the Space for Renovation
- Inspect for Damage: Once everything is stripped away, check for signs of mold, water damage, or structural issues. Address these problems before proceeding.
- Smooth Surfaces: Ensure that walls and floors are smooth and free from remnants of old adhesive or tiles. This will ensure a clean installation of new materials.
- Update Plumbing and Electrical: If you’re changing the plumbing or electrical systems, now is the time to do it before installing new fixtures or walls.
Demolition and prep might not be the most glamorous part of a bathroom renovation, but they’re undeniably crucial. By approaching this phase with care, preparation, and safety in mind, you set the stage for a smoother and more efficient renovation process.
Bathroom Renovation Checklist
🔲 Planning and Budgeting
- Determine the scope of the renovation.
- Set a realistic budget.
- Research and gather inspiration
🔲 Design and Layout
- Decide on a layout that maximizes space.
- Choose a design theme or style
- Consider future needs and adaptability
🔲 Choosing Materials and Fixtures
- Select durable and moisture-resistant materials
- Decide on fixture styles and finishes
- Consider energy and water-efficient options
🔲 Hiring Professionals
- Research and hire reputable contractors
- Check references and previous work
- Discuss timelines and payment terms
🔲 Permits and Regulations
- Research local building codes and regulations
- Obtain necessary permits
- Ensure all work is compliant
🔲 Demolition and Prep
- Safely remove old fixtures and tiles
- Check for hidden issues (mold, water damage)
- Prepare surfaces for new installations
🔲 Installation and Finishing Touches
- Install tiles, fixtures, and lighting
- Paint and seal where necessary
- Add decor and personal touches
🔲 Maintenance and Upkeep
- Regularly clean and inspect fixtures
- Address minor issues promptly
- Consider periodic deep cleaning
🔲 Eco-Friendly Choices and Sustainability
- Opt for water-saving fixtures
- Choose sustainable and recycled materials
- Implement energy-efficient lighting and ventilation
🔲 Potential Challenges and Solutions
- Set aside a contingency fund for unexpected costs
- Be flexible with timelines and design choices
- Communicate regularly with contractors
🔲 Enjoying the Finished Product
- Take time to relax and enjoy the new space
- Show off your hard work to friends and family
- Appreciate the added value to your home
Bringing Your Vision to Life: The Installation Phase
After the demolition dust has settled and the space is prepped, it’s time for the transformative phase of installation. This is when your bathroom begins to take shape, reflecting the design choices you’ve made and the vision you’ve held. From laying tiles to installing fixtures, every step is a move towards your dream bathroom.
Steps for a Successful Installation
- Start with the Walls and Flooring:
- Wall Tiles: Begin by installing tiles on the walls, starting from the bottom and working your way up. Use spacers to ensure even gaps for grout.
- Flooring: Move onto the floor once the walls are done. Ensure the floor is level and clean before laying down tiles or other flooring materials.
- Plumbing Fixtures:
- Toilet: Install the toilet bowl and tank, ensuring a watertight seal at the base.
- Sink and Faucet: Position the sink, secure it, attach the faucet, and connect the plumbing.
- Shower/Bathtub: Depending on your choice, install the bathtub or the shower base, followed by the showerhead and other fixtures.
- Electrical Installations:
- Light Fixtures: Install overhead lights, vanity lights, and any other lighting fixtures you’ve chosen.
- Outlets and Switches: Ensure they’re positioned away from water sources and are correctly grounded.
- Storage and Cabinetry:
- Vanity: Secure the vanity in place, ensuring it’s level.
- Cabinets and Shelves: Install wall-mounted cabinets, shelves, or storage niches.
- Doors and Windows: If you’re replacing or adding a new bathroom door or window, ensure they’re installed securely and are sealed to prevent water and air leaks.
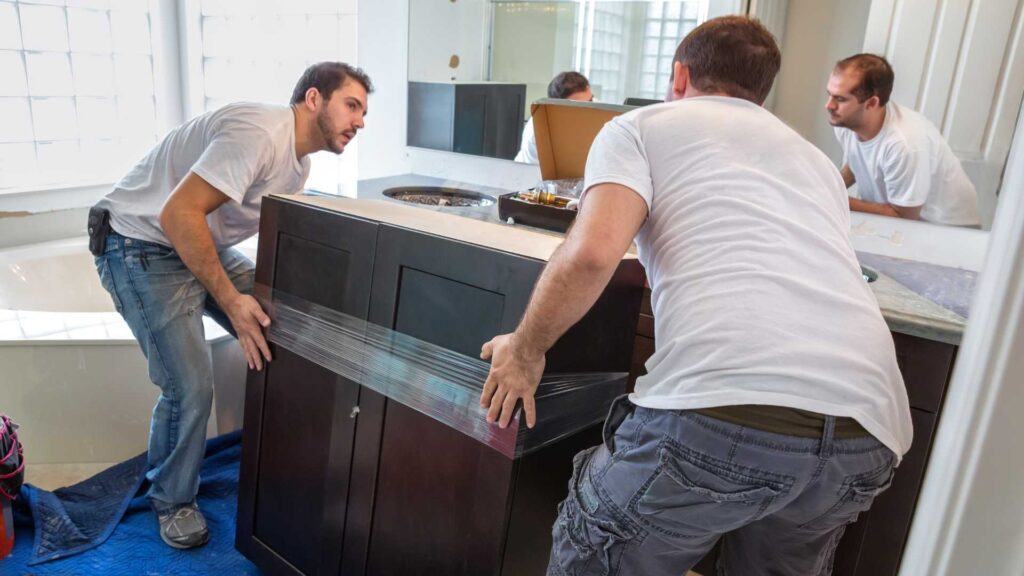
Adding the Finishing Touches
- Painting: If parts of your bathroom need painting, choose a moisture-resistant paint suitable for bathrooms.
- Grouting: Fill in the gaps between tiles with grout. Ensure it’s evenly spread and wipe away any excess.
- Sealing: Especially around the bathtub, sink, and toilet, use caulk to seal edges and prevent water leakage.
- Decor and Accessories:
- Mirrors: Position and secure any mirrors above the vanity or other areas.
- Towel Racks and Hooks: Install them at a convenient height and location.
- Decorative Elements: To personalize the space, add plants, artwork, or other decor items.
The installation phase is a testament to the planning, design choices, and hard work that has gone into the renovation. Ensuring each step is done meticulously and with care will reward you with a functional bathroom that reflects your style and taste.
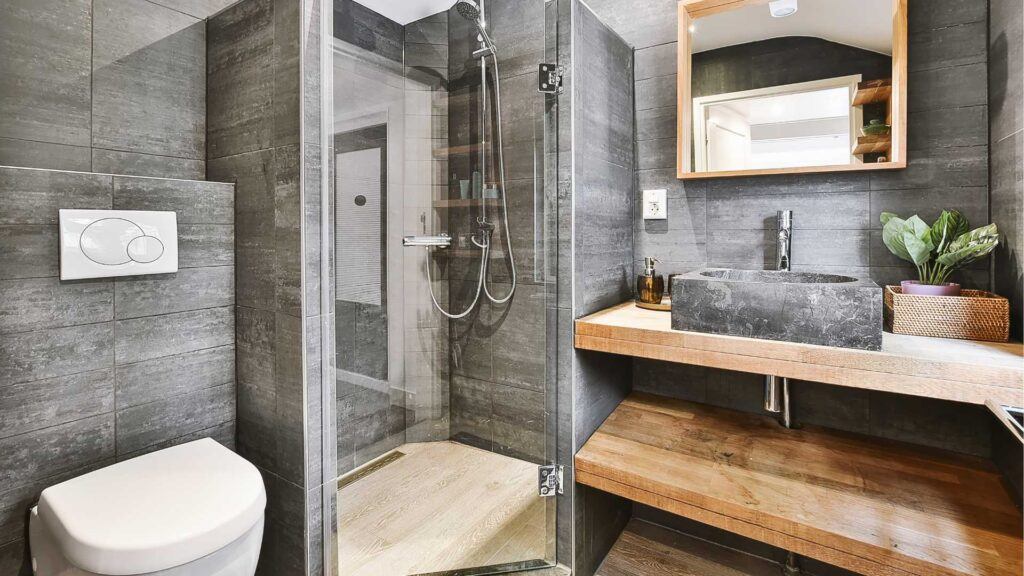
Enjoying the Finished Product
The dust has settled, the tools are put away, and the renovation journey has ended. Now, it’s time to step back, admire your handiwork, and truly enjoy the fruits of your labor. Your bathroom, once perhaps outdated or dysfunctional, has been transformed into a space of beauty, relaxation, and efficiency.
The Personal Touch
- A Reflection of You: Every choice made, from the tiles on the floor to the color on the walls, reflects your style and preferences. The bathroom now resonates with your personality and offers comfort and belonging.
- Memories of the Journey: While the renovation process might have had its challenges, it also came with moments of excitement, creativity, and learning. The finished bathroom is a testament to your vision, effort, and dedication.
Maximizing Your Enjoyment
- Indulge in Relaxation: Take that long bubble bath you’ve been dreaming of, or enjoy the therapeutic experience of a rain shower. Your bathroom is now a personal spa, ready to offer relaxation and rejuvenation.
- Organize for Efficiency: With new storage solutions and a well-thought-out design, everything has its place. Enjoy the efficiency and ease that comes with a well-organized space.
- Show It Off: Don’t hesitate to give tours to friends and family. Share your renovation journey, the choices you made, and the challenges you overcame. Your bathroom can serve as an inspiration to others considering a similar project.
Ensuring Long-Term Satisfaction
- Stay Adaptable: Your needs or preferences might change. The beauty of a well-designed bathroom is its adaptability. Whether updating decor or adding new accessories, small changes can keep the space fresh and aligned with your evolving tastes.
- Feedback Loop: As you use the bathroom daily, note what works and what doesn’t. This feedback is invaluable if you ever consider another renovation project in the future.
- Celebrate the Value Added: A renovated bathroom often adds value to your home beyond personal enjoyment. Whether you’re considering selling in the future or simply looking for a return on investment, a modern, functional bathroom is a valuable asset.
A bathroom makeover is exceptional in the grand scheme of home renovations. It’s not just about aesthetics or increasing property value; it’s about enhancing your daily routines and quality of life. So, please take a moment to appreciate the space truly, enjoy every moment spent in it, and take pride in the transformation you’ve achieved.
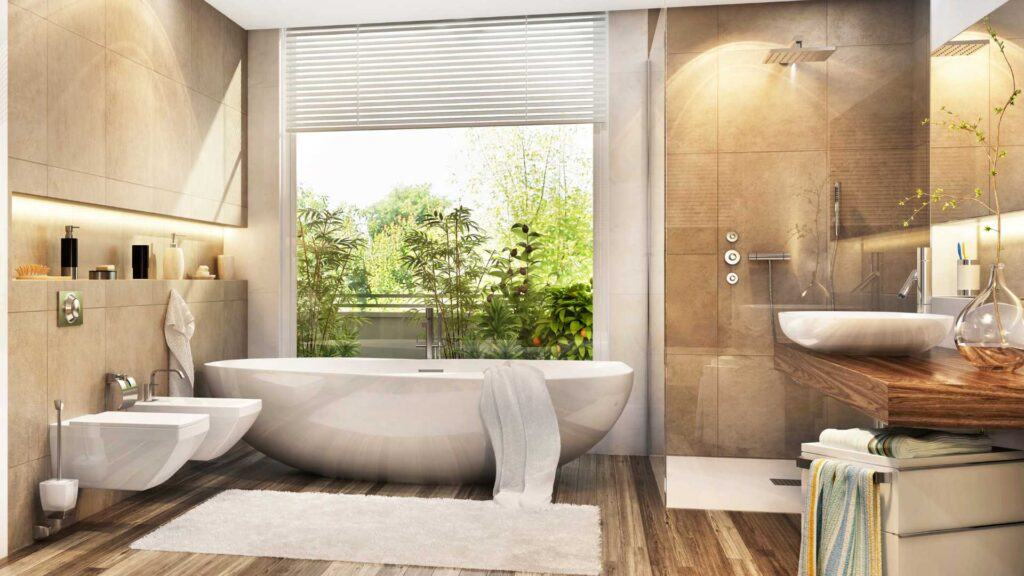
The Rewarding Journey of Bathroom Renovation,
Renovating a bathroom is more than just a home improvement project; it’s a transformative journey. Each step offers challenges and rewards, from initial planning to final finishing touches.
While the process may seem daunting, the result—a beautiful, functional, and personalized space—is worth the effort.
Incorporating eco-friendly choices and sustainable practices further elevates the renovation, ensuring that your bathroom reflects your style and is a testament to your commitment to the environment.
As you bask in the comfort and luxury of your newly renovated space, take a moment to appreciate the journey, decisions, and positive impact of your choices.
Whether you’re embarking on your first renovation or are a seasoned DIY enthusiast, remember that every Project is a learning experience.
Embrace the challenges, celebrate the successes, and most importantly, enjoy the journey. After all, the actual value of a renovation lies not just in the final product but in the memories and growth that come along the way.


