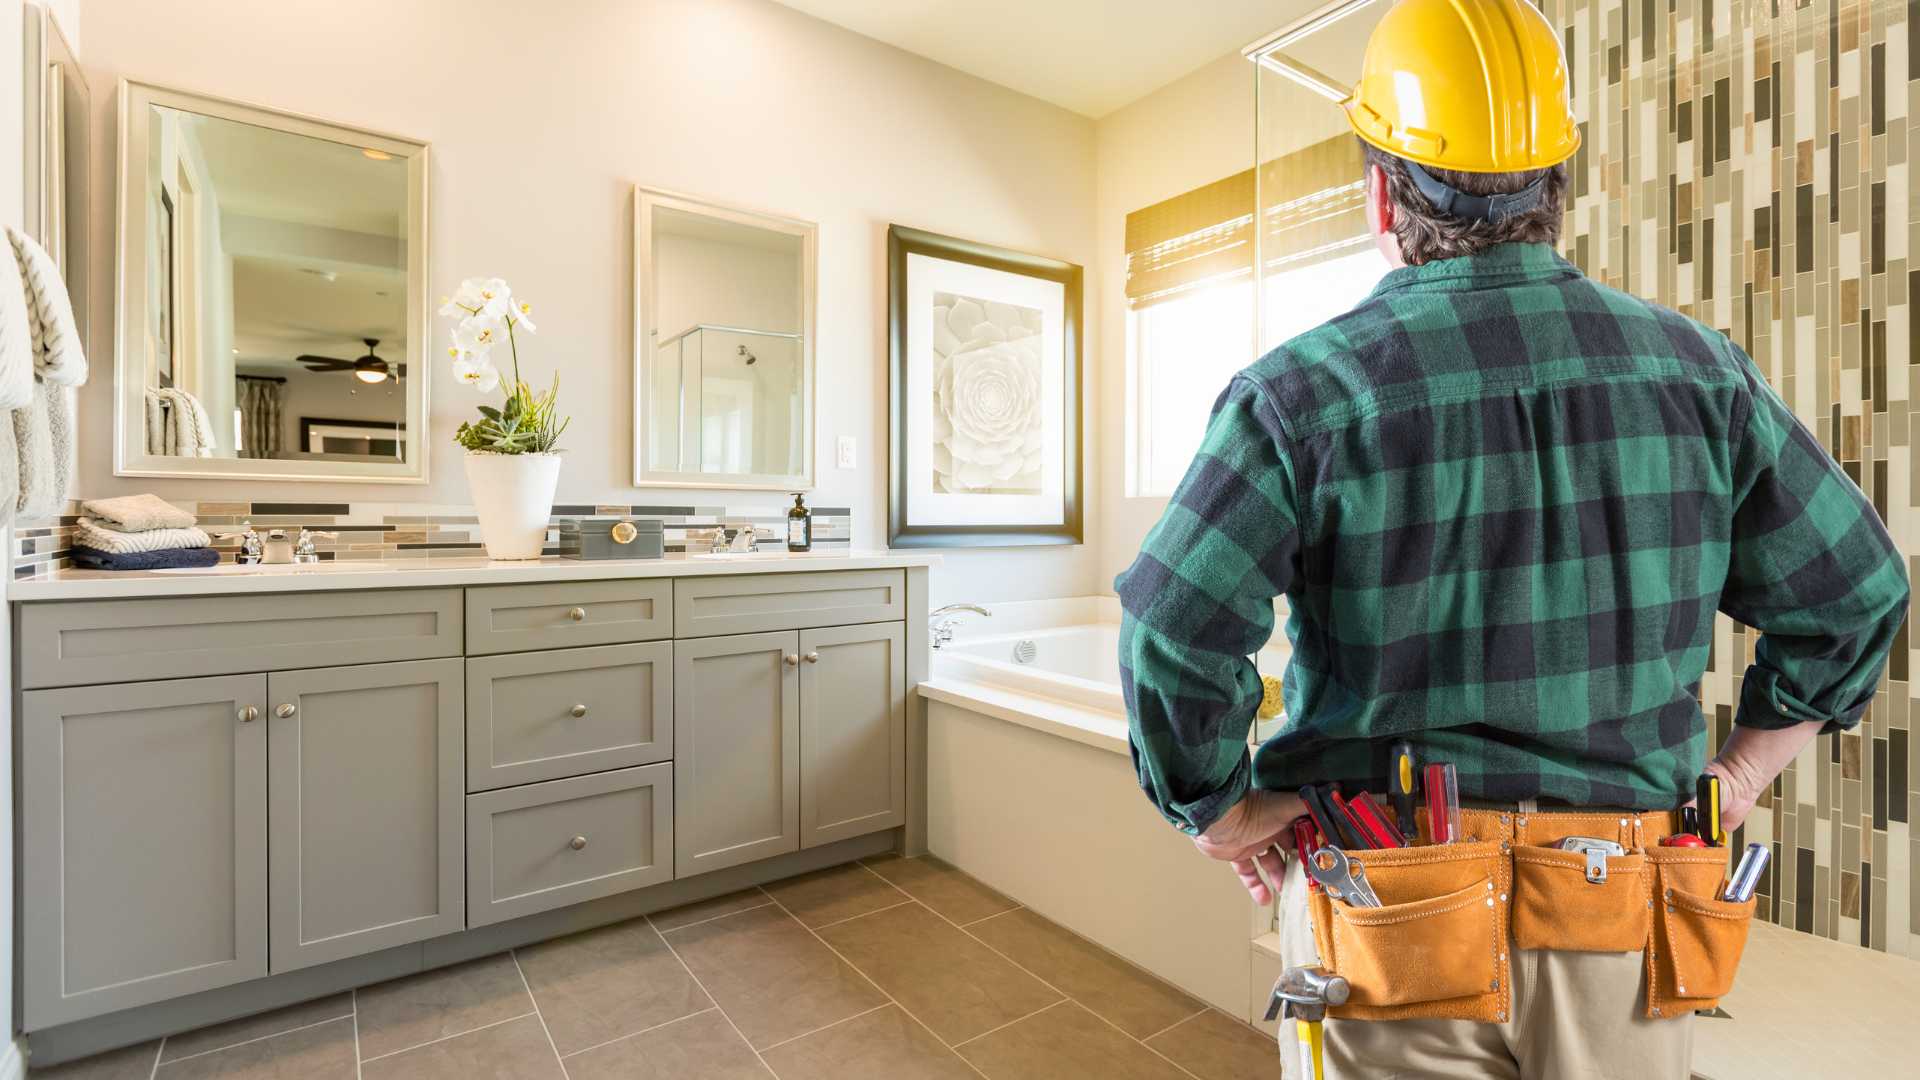
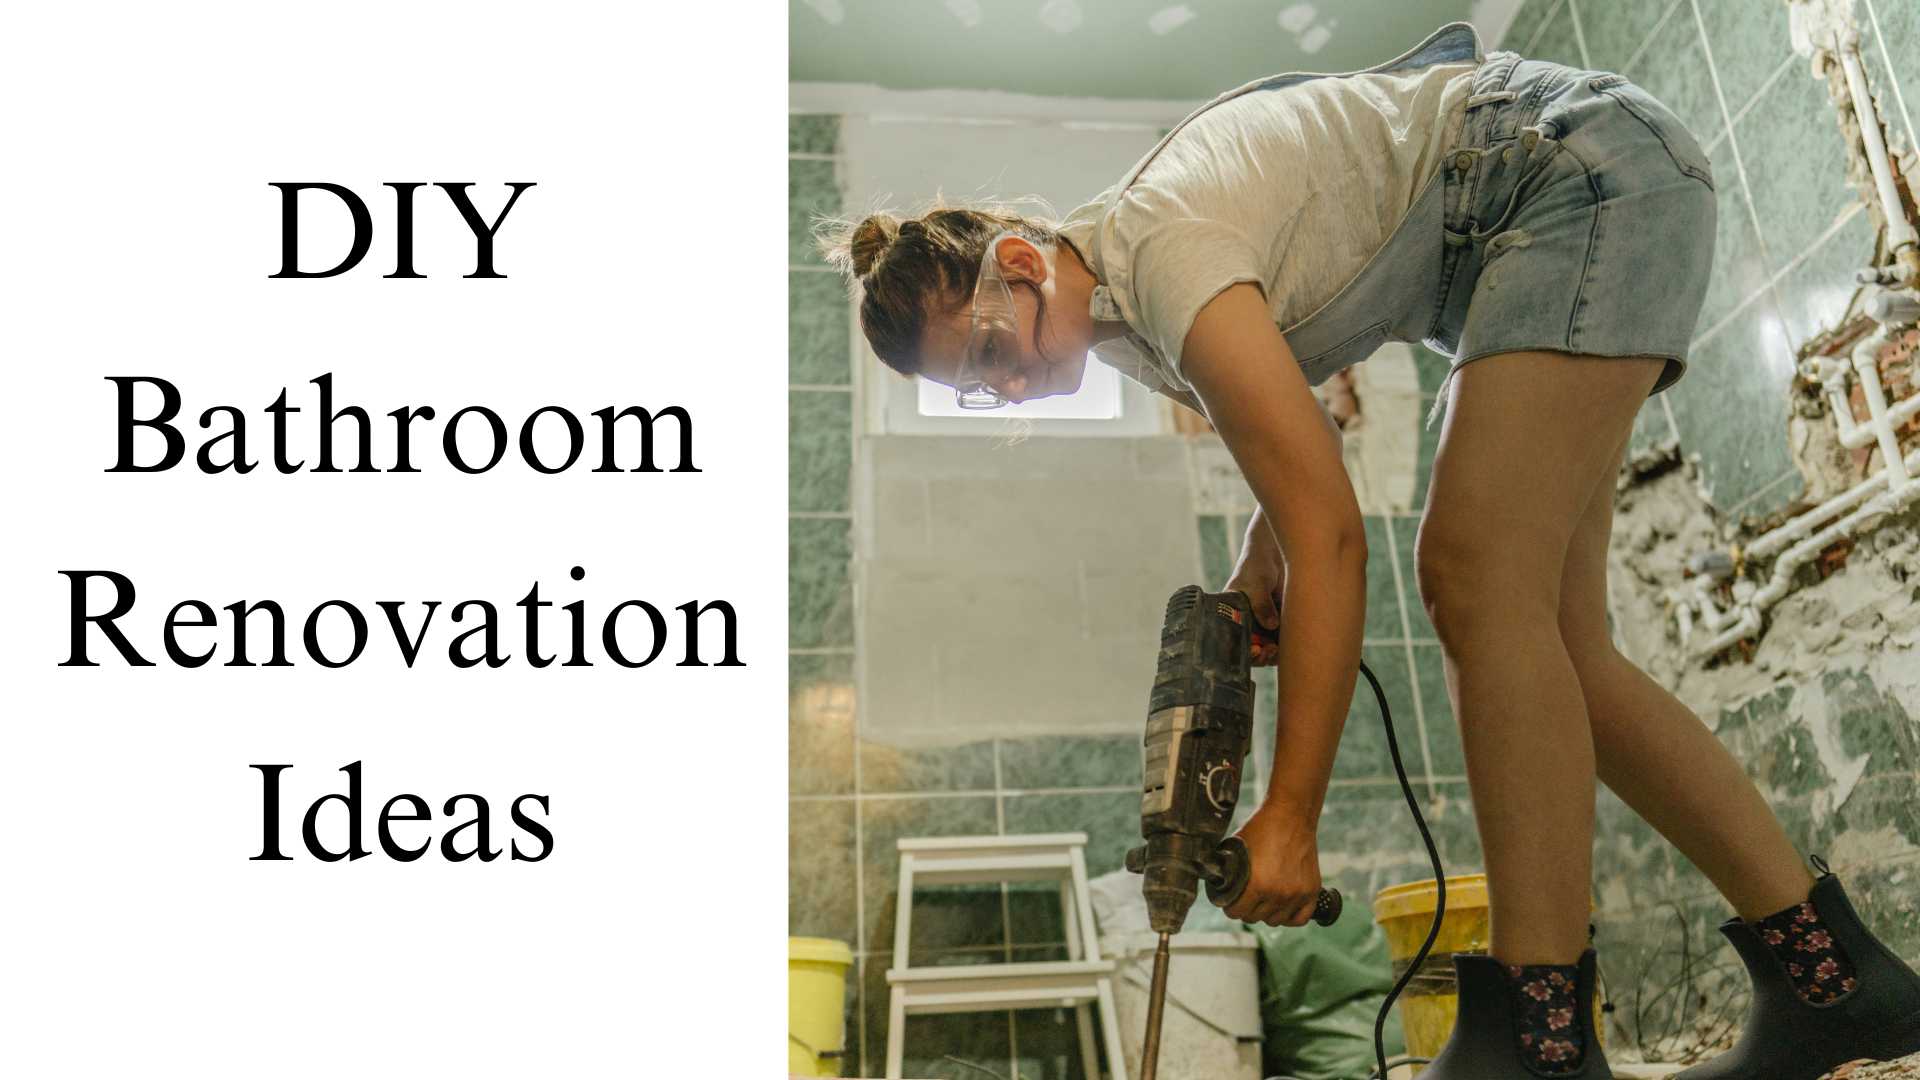
Embarking on a bathroom renovation can be both exciting and daunting. Whether planning a full-scale transformation or just a simple refresh, having the right tools is essential to ensure a smooth and efficient process. A well-equipped toolkit not only makes the task more accessible but also yields a professional-looking finish. In this blog post, I’ll delve into a comprehensive list of Essential Tools for DIY Bathroom Renovations, from the initial demolition to the final finishing touches.
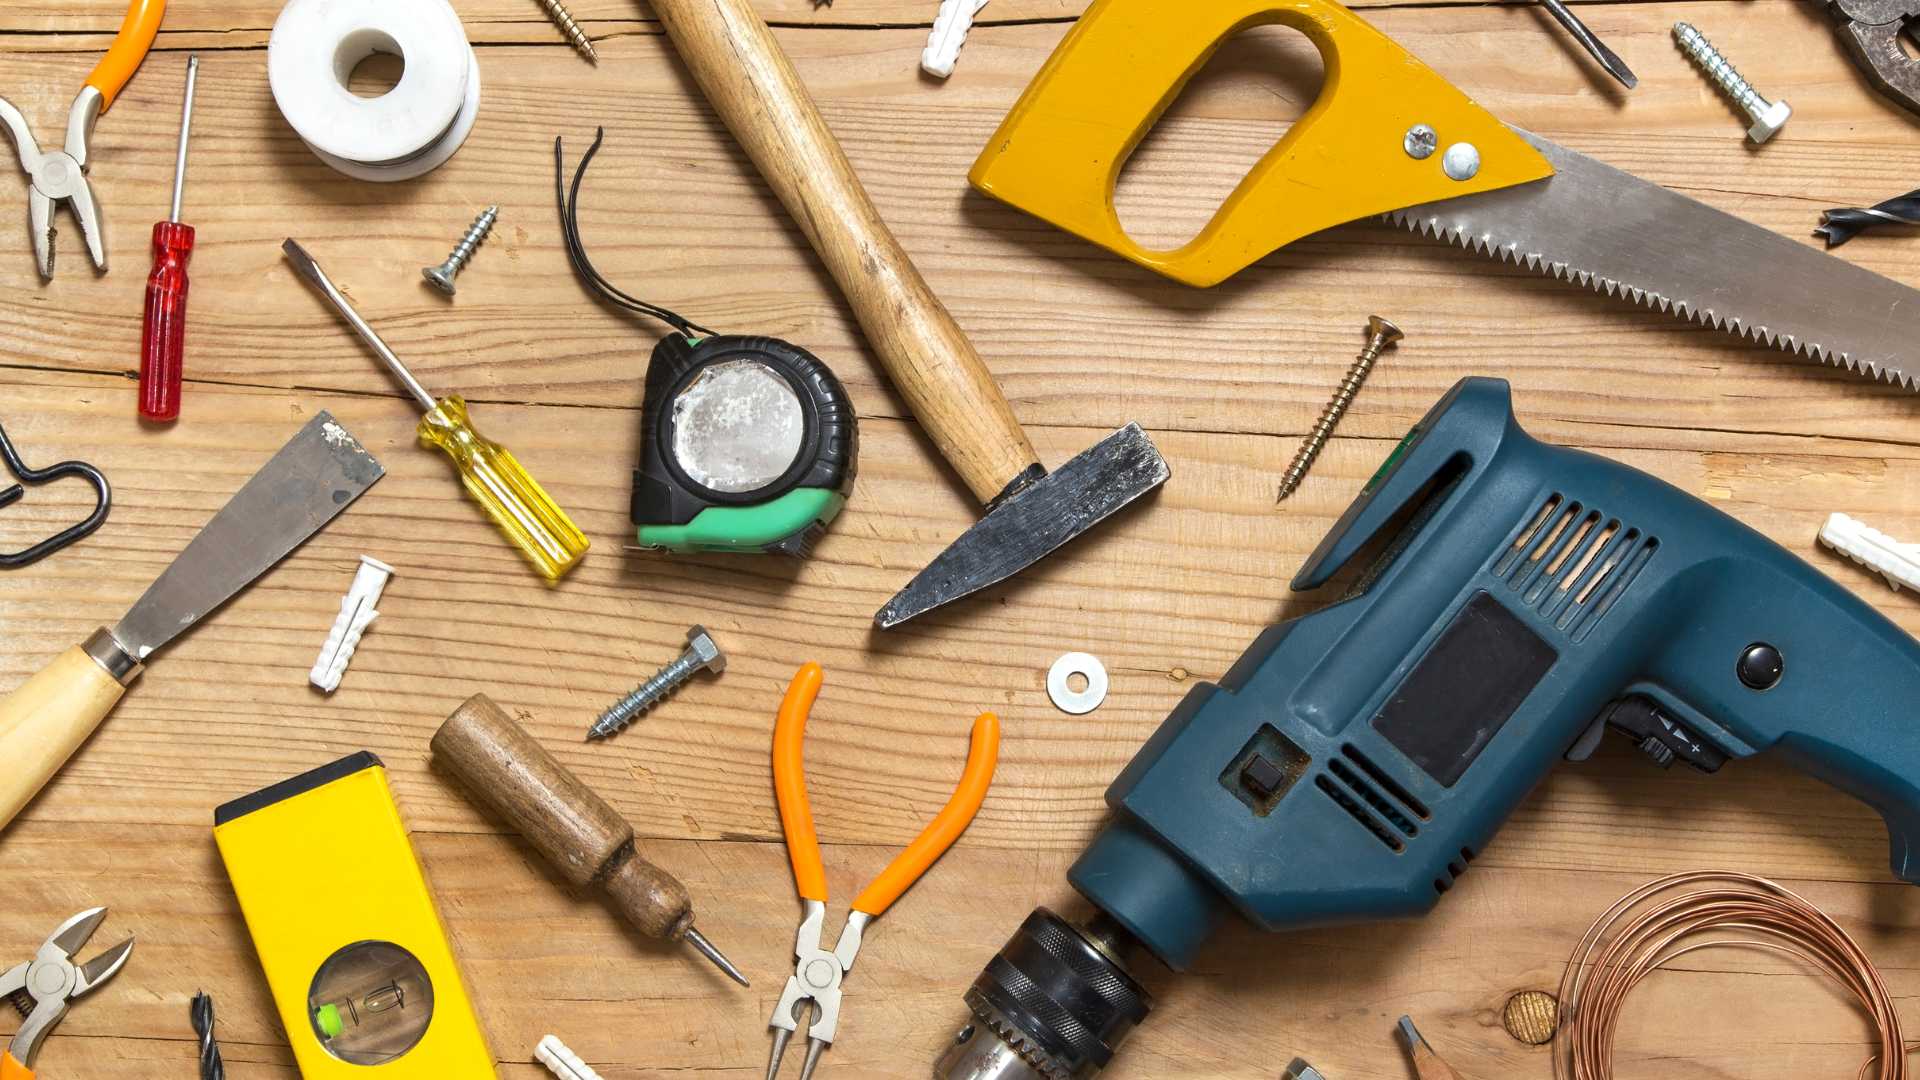
Let’s set the foundation for your dream bathroom.
DIY Comprehensive Tool List
- Planning & Measuring Tools:
- Tape measure
- Level
- Carpenter’s square
- Pencil or chalk line
- Safety Gear:
- Safety glasses
- Ear protection
- Dust mask or respirator
- Work gloves
- Knee pads
- Demolition Tools:
- Sledgehammer
- Pry bar
- Utility knife
- Chisel
- Bucket
- Tile Work:
- Tile cutter or wet saw
- Tile spacers
- Notched trowel
- Grout float
- Sponge
- Tile nippers
- Tile leveling system (optional)
- Plumbing Tools:
- Pipe wrench
- Basin wrench
- Plunger
- Adjustable wrench
- Plumber’s tape
- Plumber’s putty
- Pipe cutter or hacksaw
- Electrical Tools:
- Voltage tester
- Wire stripper
- Screwdrivers (Philips & flat-head)
- Pliers
- Circuit tester
- Drywall & Painting:
- Drywall saw or utility knife
- Drywall screws
- Joint compound
- Putty knife
- Sandpaper or sanding sponge
- Paintbrushes
- Paint rollers
- Paint tray
- Carpentry & Installation:
- Drill and drill bits
- Hammer
- Screwdrivers
- Stud finder
- Miter saw, or hand saw
- Nails or screws
- Caulking gun and caulk
- Flooring:
- Flooring cutter
- Knee kicker (for carpet)
- Floor scraper
- Laminate installation kit (if installing laminate)
- Finishing Touches:
- Caulking gun (for sealing around the tub, sink, and toilet)
- Cleaning supplies

Remember, the exact tools needed can vary based on the specifics of the renovation. Additional tools might be required if the renovation involves specialized tasks, such as installing heated floors or custom cabinetry.
Always follow the manufacturer’s instructions when using tools and materials, and prioritize safety first.
Planning & Measuring Tools
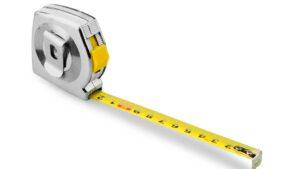
Tape Measure
The backbone of any renovation project. A reliable tape measure ensures accurate dimensions for every aspect of your bathroom – from the space available for a new vanity to the dimensions of tiles. Opt for a retractable one with both metric and imperial measurements.
Level
A level is crucial to ensure that installations like shelves, cabinets, or tiles are perfectly horizontal or vertical.
Whether you choose a traditional spirit level or a modern laser level, this tool ensures your finishes are professional and precise.
Carpenter’s Square
This L-shaped tool is essential for right-angle measurements and is especially useful when setting tiles or framing. Ensuring your angles are square can make a big difference in the finished look of the bathroom.
Pencil or Chalk Line
Marking your measurements is vital; a simple pencil can do the trick.
However, a chalk line can be invaluable for long, straight lines (like when placing tiles). Snap it to transfer a straight line onto surfaces quickly and efficiently.

In the planning and measuring phase, accuracy is paramount. Minor errors in the initial stages can lead to more significant complications down the road.
Investing time in careful measuring and marking at the outset can save time, money, and frustration in the later stages of the renovation.
Safety Gear
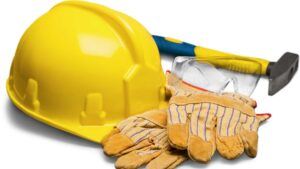
Safety Glasses:
Protecting your eyes should be a top priority during any renovation. Dust, debris, and unexpected splashes can occur, especially during demolition or when cutting materials.
Safety glasses shield your eyes from hazards, ensuring clear vision throughout the project.
Ear Protection
Tools like drills, saws, and hammers can be loud, especially in the echo-prone environment of a bathroom. Over time, exposure to these noises can damage your hearing.
Earplugs or earmuffs can help reduce noise exposure, safeguarding your ears.
Dust Mask or Respirator
Renovations can kick up dust, especially during demolition or sanding. A dust mask can filter out larger particles, but if you’re dealing with potential mold, mildew, or strong chemicals, consider a respirator with appropriate filters to protect your respiratory system.
Work Gloves
Protecting your hands from cuts, abrasions, and potential chemical exposures is crucial.
A good pair of work gloves provides grip while working with tools and protects against splinters, sharp edges, and other hazards.
Knee Pads
Bathroom renovations often involve tasks close to the floor, like tiling or installing baseboards.
Knee pads offer cushioning, protecting your knees from hard surfaces and ensuring comfort during prolonged periods of kneeling.
Hard Hat
A hard hat is essential if there’s any risk of falling objects, especially during tasks like demolition. It protects the head from potential impact.
Non-Slip Work Boots
Wet environments or spilled materials can make a bathroom floor slippery. Wearing non-slip work boots protects your feet, provides stability, and helps prevent accidents.
First Aid Kit
Accidents can happen, even with the best precautions. A basic first aid kit ensures that minor injuries like cuts or scrapes can be addressed immediately.
Prioritizing safety is essential in any renovation project. While the excitement of transforming a space can be overwhelming, it’s crucial to remember that no design is worth compromising your health and well-being.
Always equip yourself with the necessary safety gear, and ensure others on the project do the same.
Demolition Tools
Sledgehammer
This heavy-duty tool is the poster child for demolition. Ideal for breaking down walls, removing old fixtures, or breaking up tile floors, a sledgehammer delivers forceful blows.
Remember to swing cautiously and know what lies behind walls, such as plumbing or electrical systems.
Pry Bar
Also known as a crowbar, this tool is indispensable for removing old tiles, prying up flooring, or taking down cabinetry.
Its flattened and curved end makes it easy to insert beneath materials, leveraging them away from surfaces.
Utility Knife
Perfect for cutting through old caulking, silicone, wallpaper, or opening packages, a sharp utility knife is a versatile tool. With replaceable blades, it ensures a clean cut every time.
Chisel
Paired with a hammer, a chisel helps remove stubborn materials, break tiles, or create precise material breaks.
Choose a chisel with a comfortable grip to reduce hand fatigue.
Bucket
A simple yet essential tool. Buckets are great for collecting debris, mixing materials like grout or mortar, or holding tools.
A sturdy bucket with a comfortable handle can make cleaning and organization much easier during demolition.
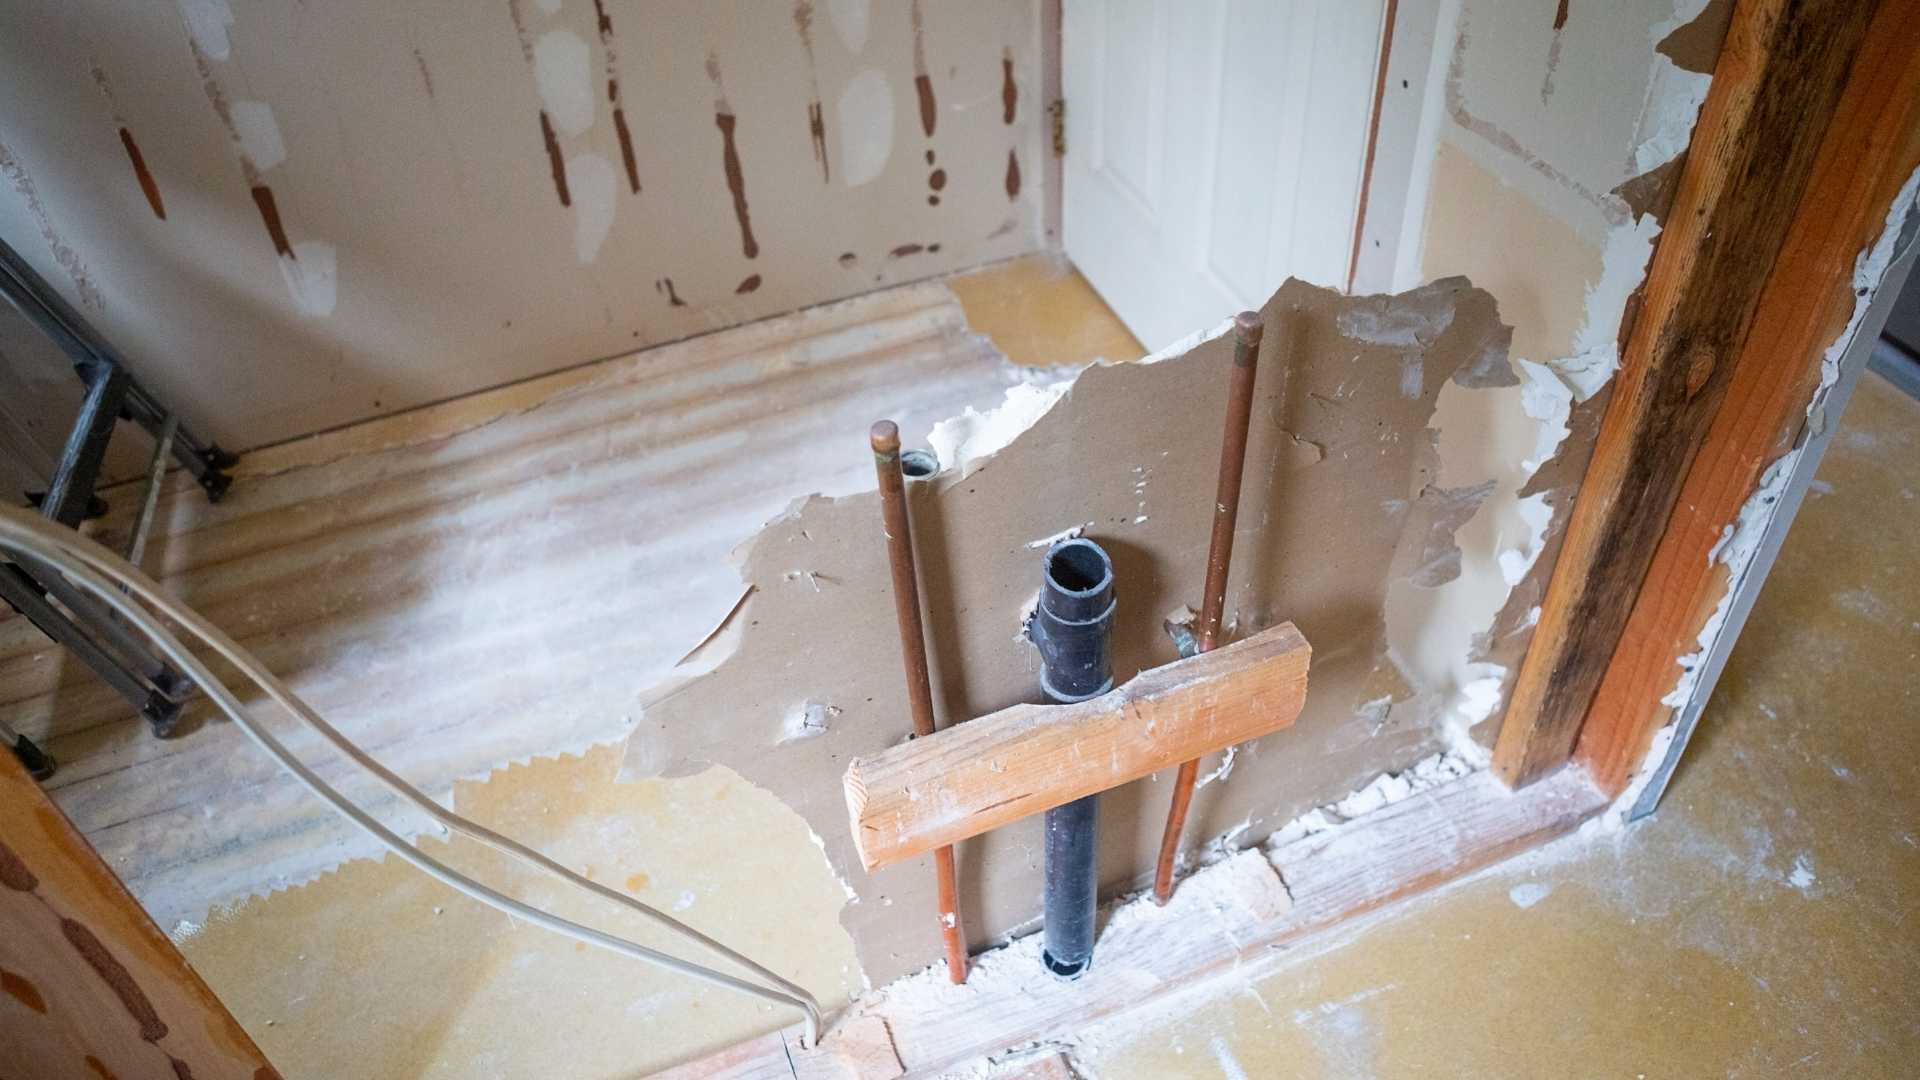
Demolition may seem chaotic, but requires careful planning and the right tools. Before diving in, always identify load-bearing walls, locate plumbing and electrical lines, and establish a plan for waste disposal.

And remember, while demolition can be satisfying, always prioritize safety, especially when dealing with older materials that might contain harmful substances like asbestos.
Tile Work
Tile Cutter or Wet Saw
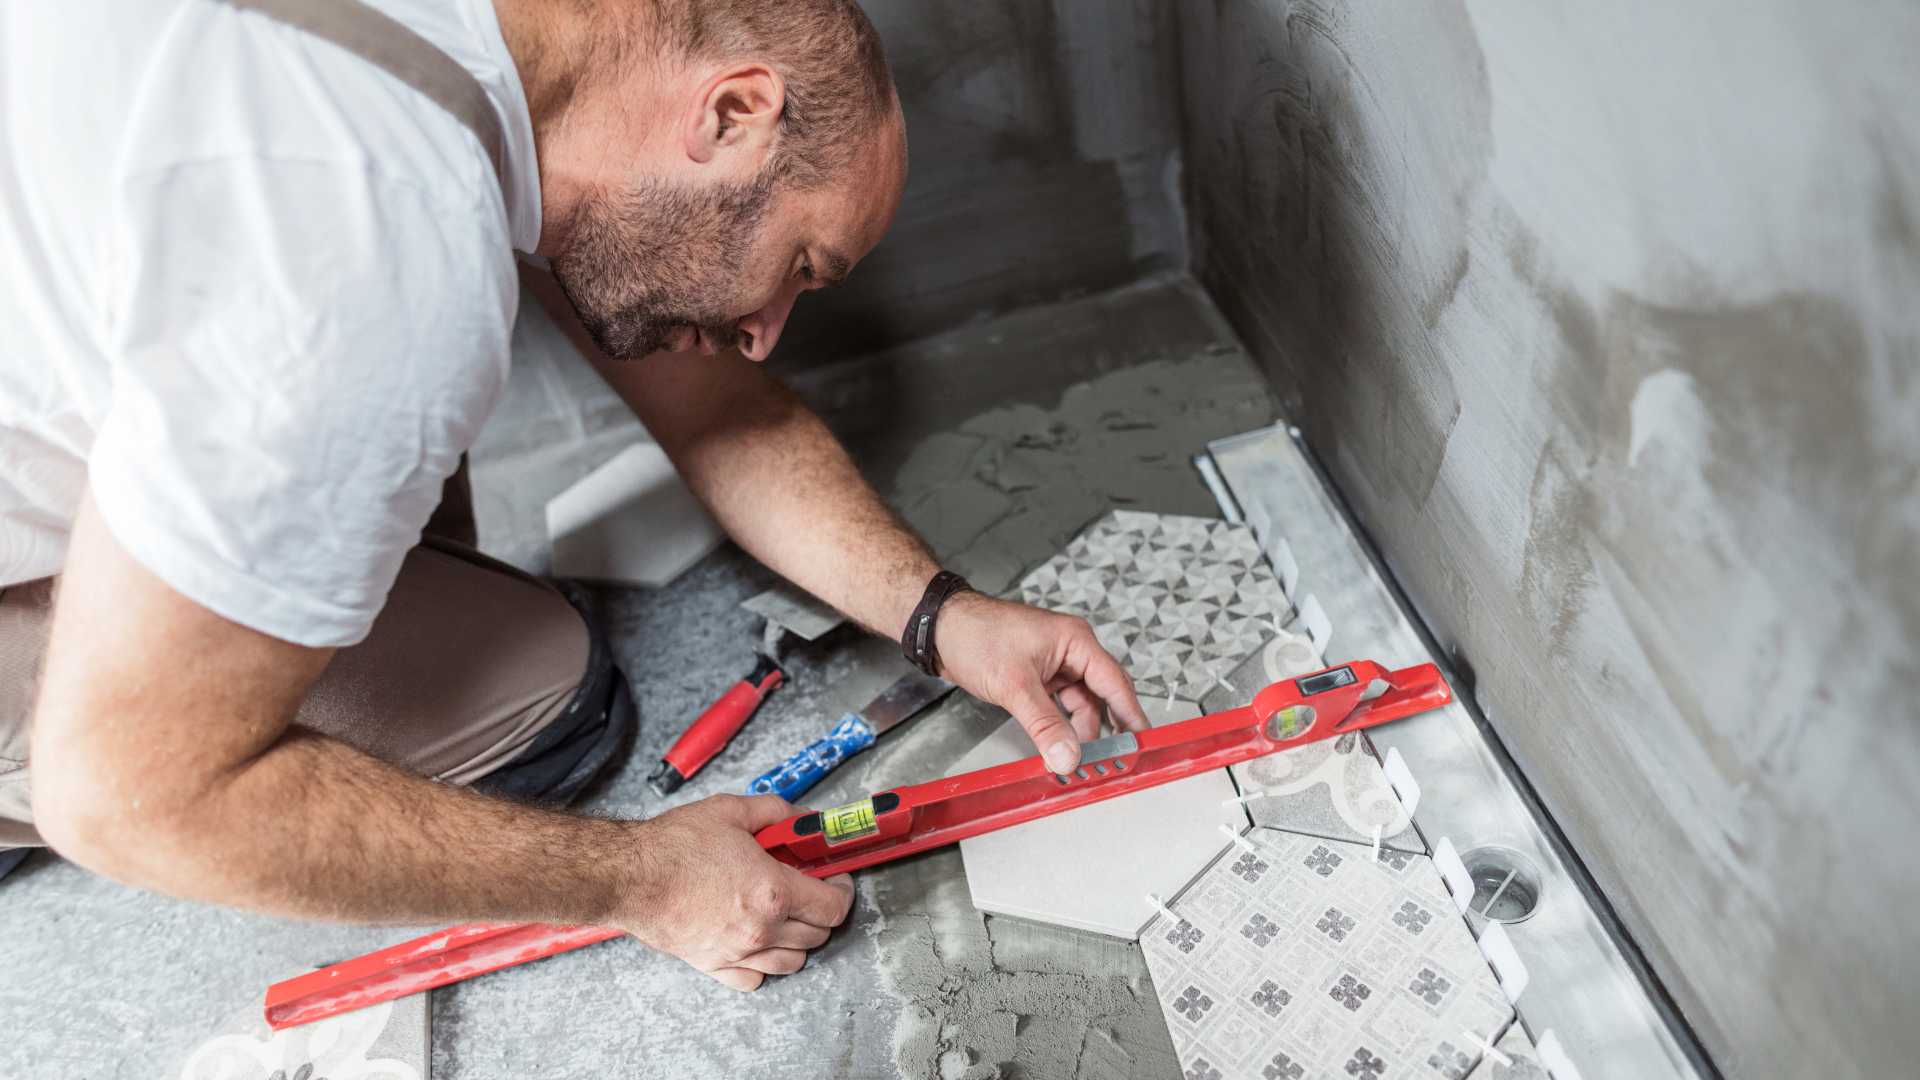
Whether cutting ceramic, porcelain, or natural stone tiles, having the right cutting tool is crucial.
A manual tile cutter is efficient for straight cuts, while a wet saw is ideal for precise cuts, especially for intricate patterns or when working around outlets and corners.
Tile Spacers
These small but vital tools ensure consistent gaps between tiles, which will later be filled with grout.
They come in various sizes, allowing you to choose the perfect spacing for your design aesthetic and the type of tile you use.
Notched Trowel
This tool is essential for spreading adhesive or thin-set mortar onto surfaces before placing tiles. The notches create ridges in the adhesive, ensuring an even distribution and proper depth.
Trowels come in different notch sizes, tailored to the size and type of tile you’re installing.
Grout Float
After laying your tiles and allowing them to set, you’ll need a grout float to apply grout between the tiles.
Its rubber base helps press the grout into the spaces while scraping away excess from the tile surface.
Sponge
A key component in the grouting process. A damp sponge helps clean excess grout from the surface of the tiles and smooth the grout lines, achieving a clean and professional finish.
Tile Nippers
For tiles that need to be shaped around irregular areas or for minor adjustments, tile nippers allow you to “nip” or chip away parts of the tile to achieve the desired shape.
Tile Leveling System (optional)
A tile leveling system can be invaluable if you’re looking for a perfectly leveled tile installation, especially with larger tiles.
It helps prevent tile lippage (where the edge of one tile sits higher than its neighbor), ensuring a flat, even surface.
Tile work can elevate the look and feel of your bathroom, but it requires patience, precision, and the right tools.
Investing time in proper installation will pay off with a stunning and durable result, whether for a simple subway tile look or an intricate mosaic.
Plumbing Tools
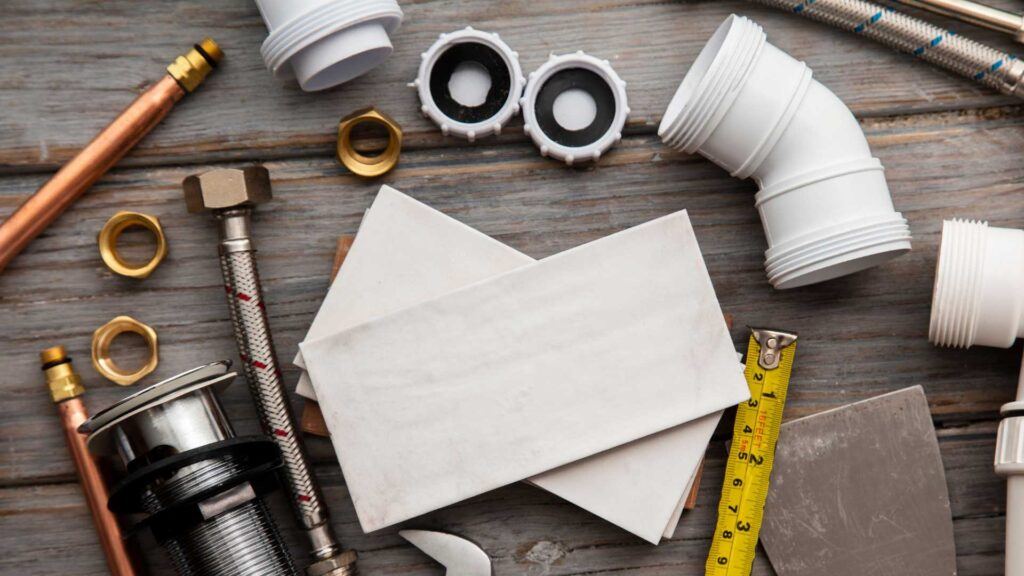
Pipe Wrench
They are often called the plumber’s best friend; the pipe wrench is designed for gripping and turning round objects such as pipes.
It’s handy when you’re working on threaded connections or fittings.
Basin Wrench
This specialized tool is a lifesaver when accessing hard-to-reach areas behind sinks. Its long shaft and swiveling jaw make it easier to tighten or loosen nuts and fittings beneath basins.
Plunger
Before starting any work on a toilet or drain, having a plunger on hand is a good idea. If unexpected blockages occur, a plunger can help clear them quickly.
Adjustable Wrench
A versatile tool for various plumbing tasks, an adjustable wrench is handy for working with compression fittings, supply lines, and other components that require a snug fit.
Plumber’s Tape
Also known as Teflon tape, plumber’s tape wraps around pipe threads before fitting them together. This ensures a watertight seal, preventing potential leaks.
Plumber’s Putty
A pliable substance used to create watertight seals around faucets, drains, and other fixtures. It remains soft for a long time, allowing for easy adjustments if needed.
Pipe Cutter or Hacksaw
Depending on your preference, either tool can cut through pipes. While a hacksaw can cut through most pipes with the right blade, a pipe cutter provides a cleaner, more precise cut, especially for copper pipes.
Plumbing is a critical aspect of any bathroom renovation. Mistakes can lead to costly water damage, so having the right tools and a good understanding of the plumbing system is essential.
If you’re unsure about any aspect of plumbing, consider consulting or hiring a professional plumber to ensure everything is done correctly and safely.
Electrical Tools
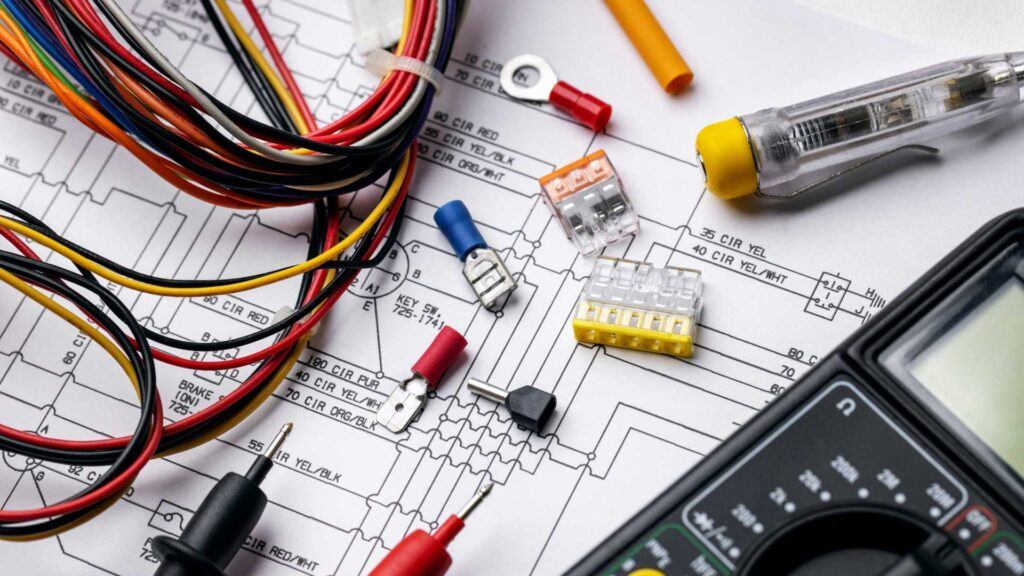
Voltage Tester
Before working on any electrical components, ensuring there’s no live electricity is vital.
A voltage tester, sometimes called a non-contact voltage tester, allows you to check for electricity without touching wires directly, ensuring your safety.
Wire Stripper
You’ll often need to remove some insulation when connecting wires.
A wire stripper is designed to ensure a clean cut without damaging the underlying wire.
Screwdrivers (Philips & flat-head)
Essential for various tasks, from removing switch covers to connecting terminal screws. A good set of insulated screwdrivers is precious when working around electrical components.
Pliers
Needle-nose pliers are handy for electrical work. They allow you to grip, twist, and bend wires with precision.
Always ensure your pliers have insulated handles when working with electricity.
Circuit Tester
Also known as a continuity tester, this tool helps ensure that electrical circuits are complete (i.e., they have continuity).
When troubleshooting switches or outlets, it’s beneficial to determine if there’s a break in the circuit. Electrical work in the bathroom demands particular attention due to the proximity of water.
Always prioritize safety: turn off power at the circuit breaker before beginning any electrical work, and if you’re uncertain about any part of the process, consult or hire a licensed electrician.
Electrical mistakes can be hazardous, so it’s essential to approach this part of the renovation with caution and knowledge.
Finishing & Detailing Tools
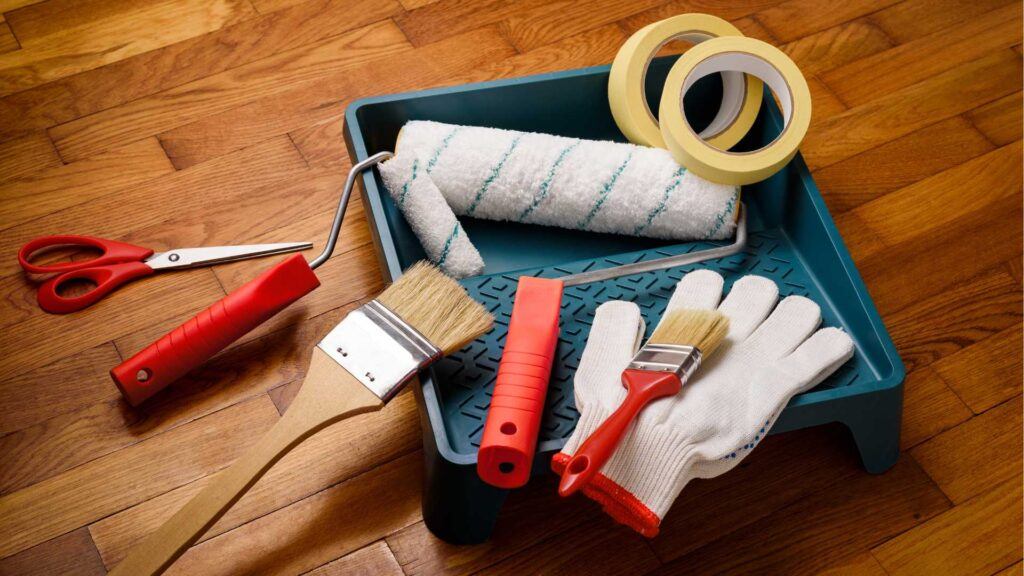
Caulking Gun
Once all significant installations are complete, a caulking gun becomes essential. It’s used to apply caulk or sealant around sinks, bathtubs, showers, and other areas to ensure water-tight seals and a clean finish.
Putty Knife
A putty knife is versatile, whether filling holes, scraping away residue, or smoothing joint compounds.
It comes in various widths, with the flexibility to handle intricate and broader tasks.
Sandpaper & Sanding Block
Smooth surfaces are critical to a polished finish. Sandpaper helps smoothen painted surfaces, wood, or drywall.
A sanding block, which holds the sandpaper, ensures even pressure for a consistent finish.
Paint Brushes & Rollers
Painting is often the final touch in a renovation. A set of quality brushes for detailed work and rollers for broader surfaces ensures a smooth and even coat of paint.
Painter’s Tape
This helps protect areas you don’t want to paint, like trim or tiles. It ensures clean edges and protects fixtures and surfaces from paint splatters.
Drop Cloths
Renovation can be messy, especially in the finishing stages. Drop cloths protect your floors and fixtures from paint drips, dust, and debris, ensuring your bathroom remains clean.
Finishing and detailing are where your bathroom renovation truly comes to life.
The final step transforms the space from a work-in-progress to a completed masterpiece.
While it might seem tedious, paying attention to the small details, ensuring clean lines, and achieving smooth surfaces can make a significant difference in the final look and feel of the bathroom.
Cleanup Tools

Broom & Dustpan
After all the renovation work, there’s bound to be dust and debris. A sturdy broom and a reliable dustpan are fundamental for sweeping up and ensuring a clean space post-renovation.
Shop Vacuum
Unlike regular household vacuums, a shop vacuum, often called a wet/dry vac, is designed to handle larger debris, dust from construction materials, and even wet messes.
It’s a valuable tool to clean up after heavy-duty tasks quickly.
Garbage Bags & Containers
Renovations produce a lot of waste. Having durable garbage bags and containers on hand helps you segregate and dispose of waste properly, whether old materials, debris, or used supplies.
Cleaning Cloths & Sponges
Once the debris is cleared, you’ll need cleaning cloths and sponges to wipe down surfaces clean fixtures, and ensure the bathroom shines.
All-Purpose Cleaner
After the physical debris is gone, residues from adhesives, paints, or other materials might still exist.
An all-purpose cleaner, preferably one safe for multiple surfaces, will help remove these residues and give the bathroom a final polish.
Mop & Bucket:
Especially if you’ve installed new flooring, you’ll want to clean the floor well.
A mop and bucket combo ensures you can clean and sanitize the floor, providing a sparkling finish to your renovated bathroom.
While often overlooked, the cleanup phase is as crucial as any other stage of renovation. The step transitions the space from a construction site to a functional and inviting bathroom.
Proper cleanup showcases the beauty of the renovated space and ensures safety by removing any potentially hazardous remnants or materials.
Miscellaneous & Additional Tools
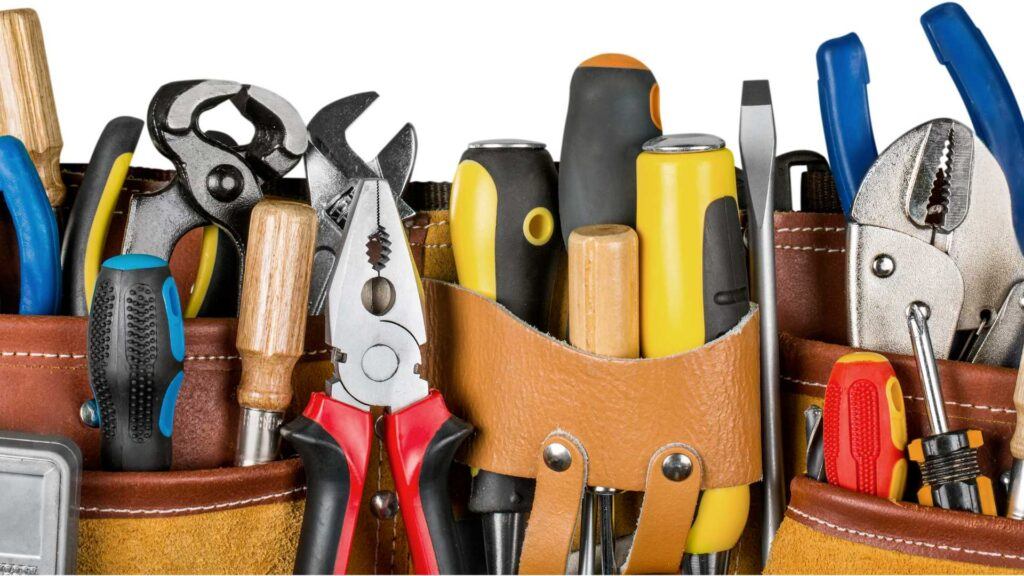
Hammer & Nails
From hanging decor to securing certain fixtures, a hammer and a set of nails are fundamental. Ensure you have various nail sizes to match different tasks.
Drill & Drill Bits
A power drill is versatile, allowing you to bore holes in walls for fixtures, anchors, or screws. You can work on various materials with different drill bits, including wood, tile, and masonry.
Stud Finder
Knowing where the wall studs are is crucial, especially if you hang heavy fixtures or shelves. A stud finder helps locate these support structures, ensuring secure installations.
Ladder or Step Stool
Bathrooms often have vertical spaces that need attention, whether painting, installing lighting, or reaching upper cabinetry. A sturdy ladder or step stool gives you the height and stability needed to work safely.
Pencil or Chalk Line
Marking measurements, tile layouts, or drilling points is much easier with a pencil or chalk line. They allow temporary markings that guide installations and can be easily cleaned afterward.
While these tools might seem basic or obvious, their importance cannot be understated.
They fill in the gaps between specialized tasks, ensuring seamless continuity in the renovation process. Having them on hand and easily accessible can significantly streamline the workflow and prevent unnecessary pauses or disruptions.
DYI Tools for Bathroom Renovations
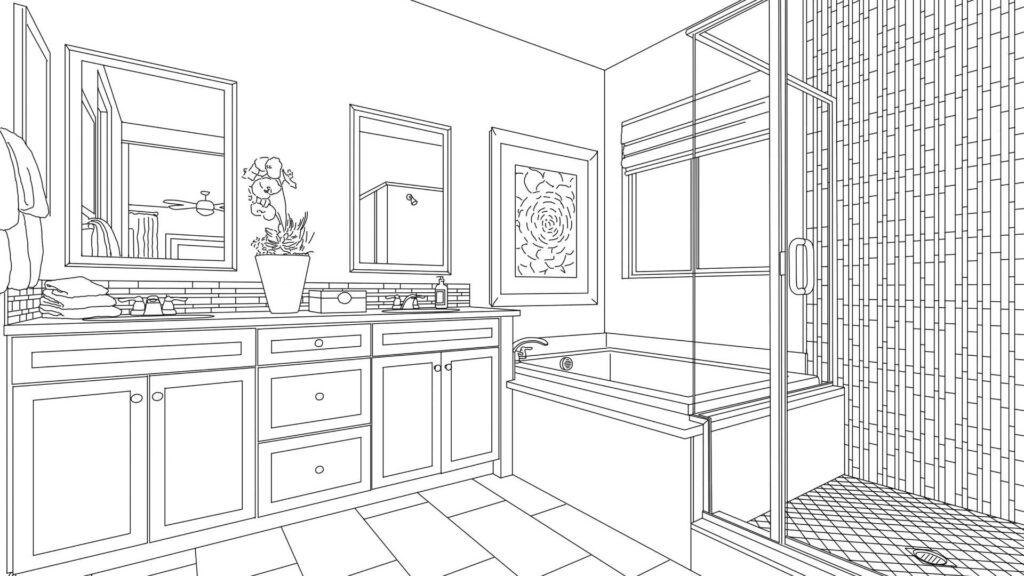
Renovating a bathroom is rewarding, transforming a functional space into a personal sanctuary.
As with any project, being equipped with the right tools is crucial for success. From the initial planning stages to the final finishing touches, each tool serves a specific purpose, ensuring precision, efficiency, and safety.
Whether you’re a seasoned DIY enthusiast or a novice just diving into the world of renovations, this comprehensive list is designed to guide you through the process, ensuring you’re well-prepared for every challenge and step.
Remember, while having the right tools is vital, always prioritize safety and don’t hesitate to seek professional advice or assistance when needed.
Here’s to creating the bathroom of your dreams, equipped with knowledge, skill, and the perfect toolkit.
The Art of Bathroom Renovations
Ultimate Step-by-Step Guide
